Paper Hanger
February 09
Click image for enlargement.
(11:02:2018)
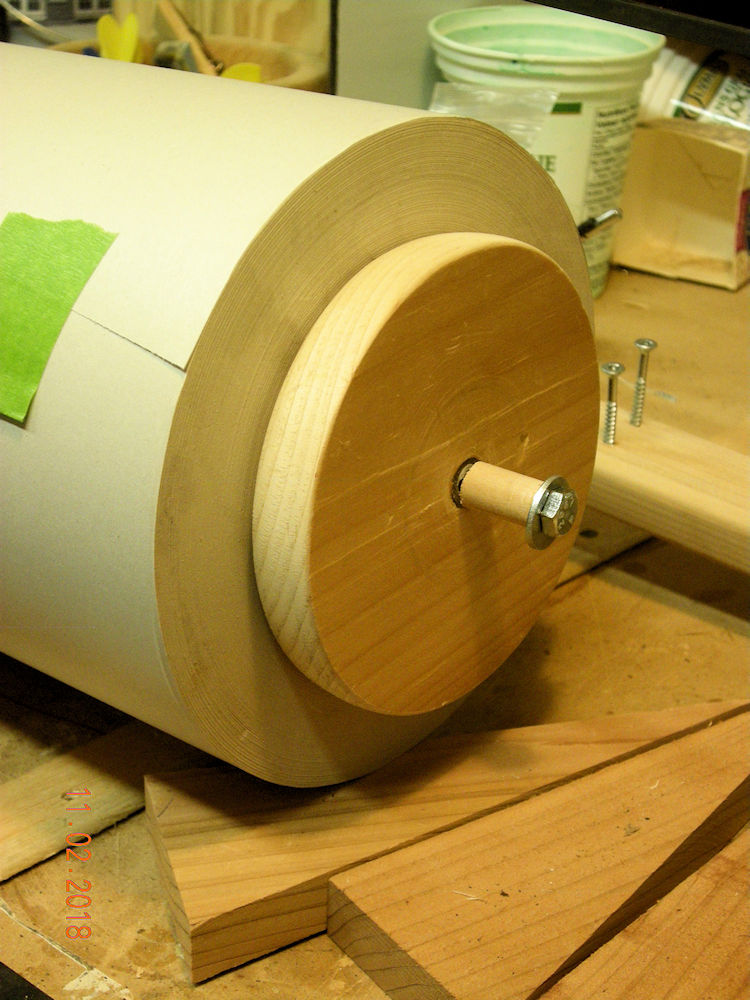
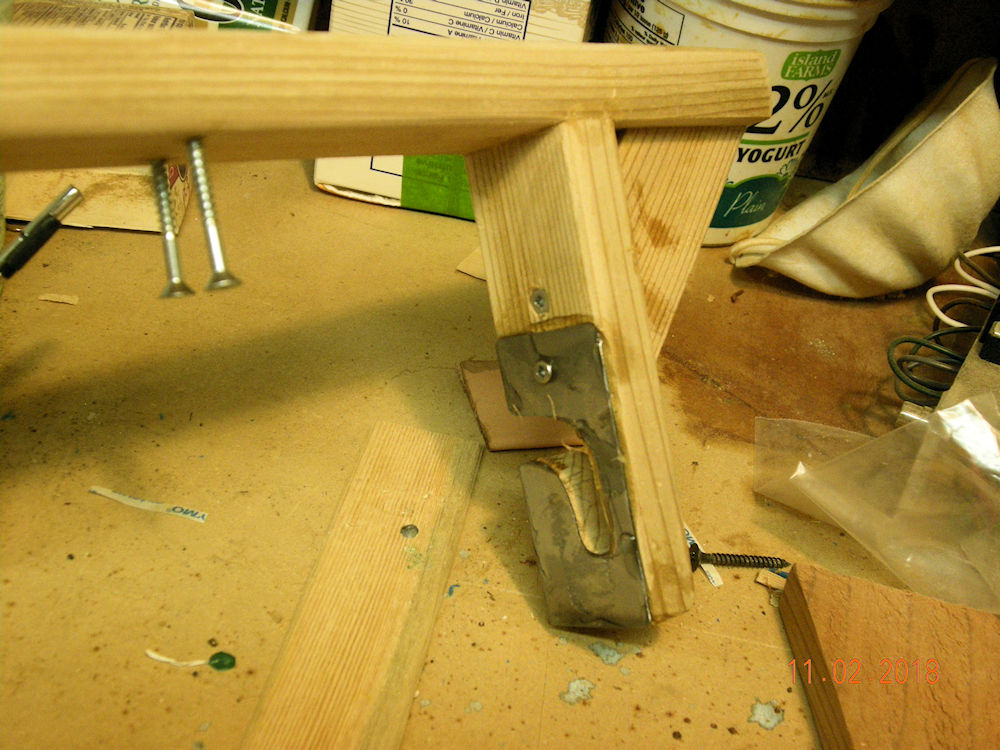
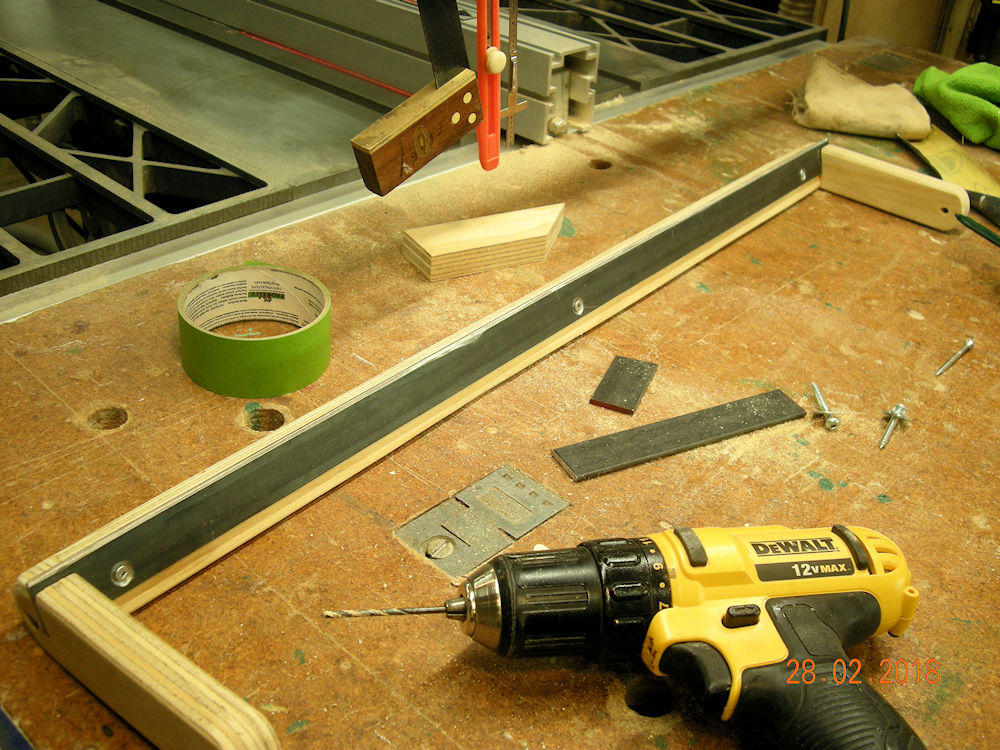
End bracket and mounting screws.
If truth would have it this is the second of three attempts at an end bracket. The metal is to stiffen the wood. First bracket was broken when I tried to put the paper roll in it. This one didn't fare any better. First one I dropped the paper roll, this one the vertical part was to short for the roll to fit.
(11:02:2018)
(11:02:2018)
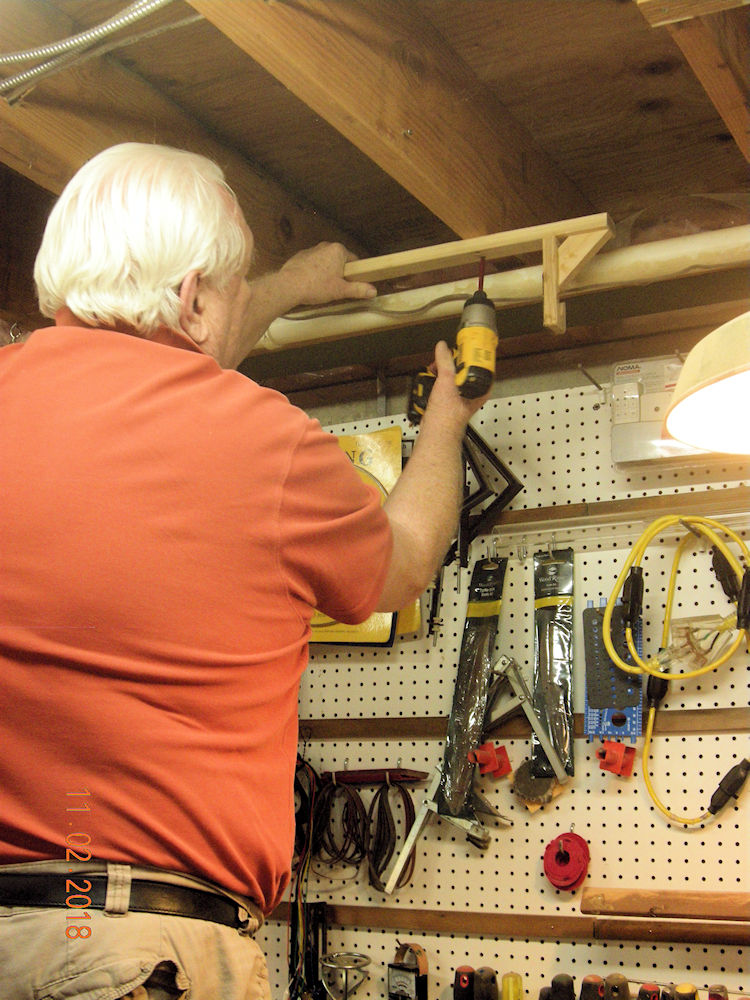
Third try worked! Had to extend the vertical part about 2 inches so the axle could slip in then drop to the pivot point.
(12:02:2018)
Ok so back to this thing.
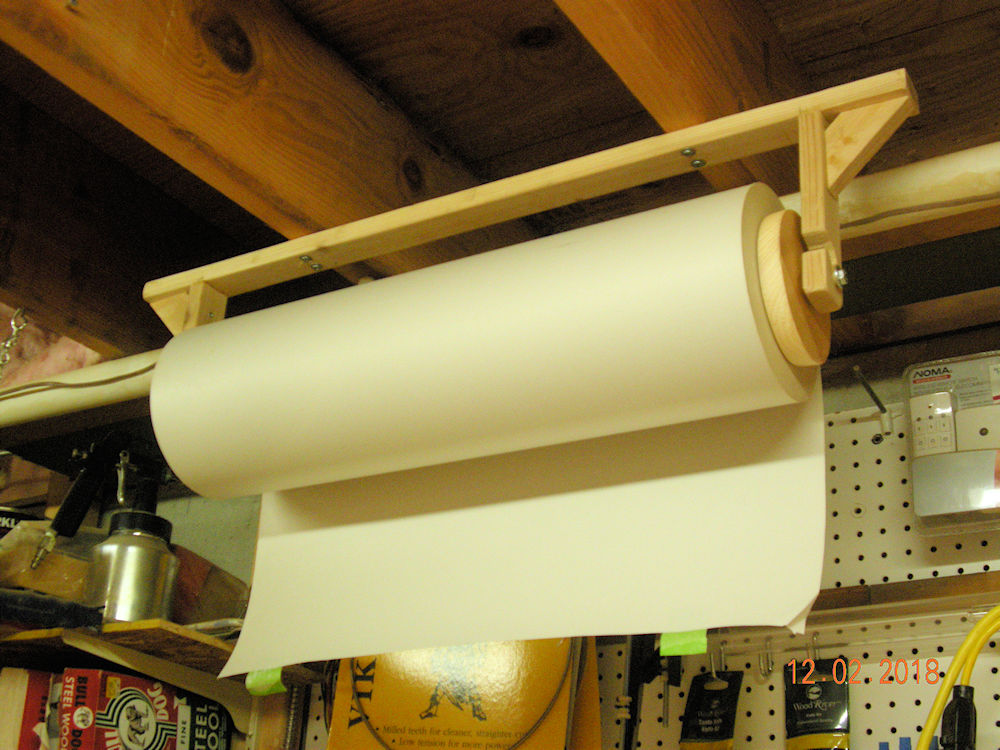
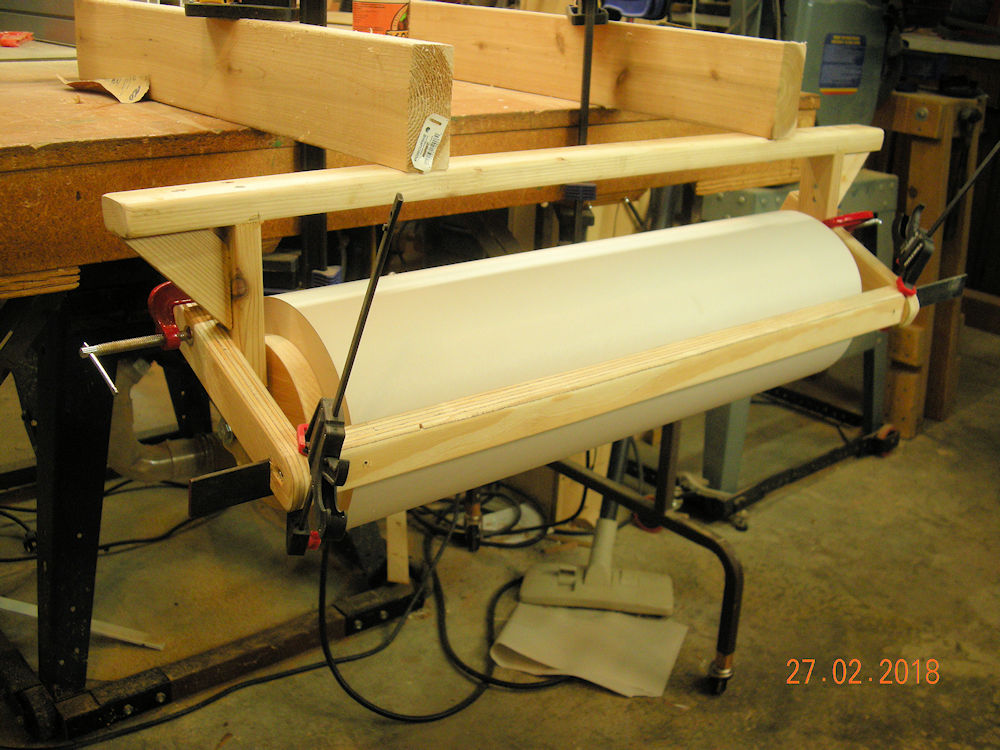
Add a bar to be able to tear the paper off..
(27:02:2018)
(28:02:2018)
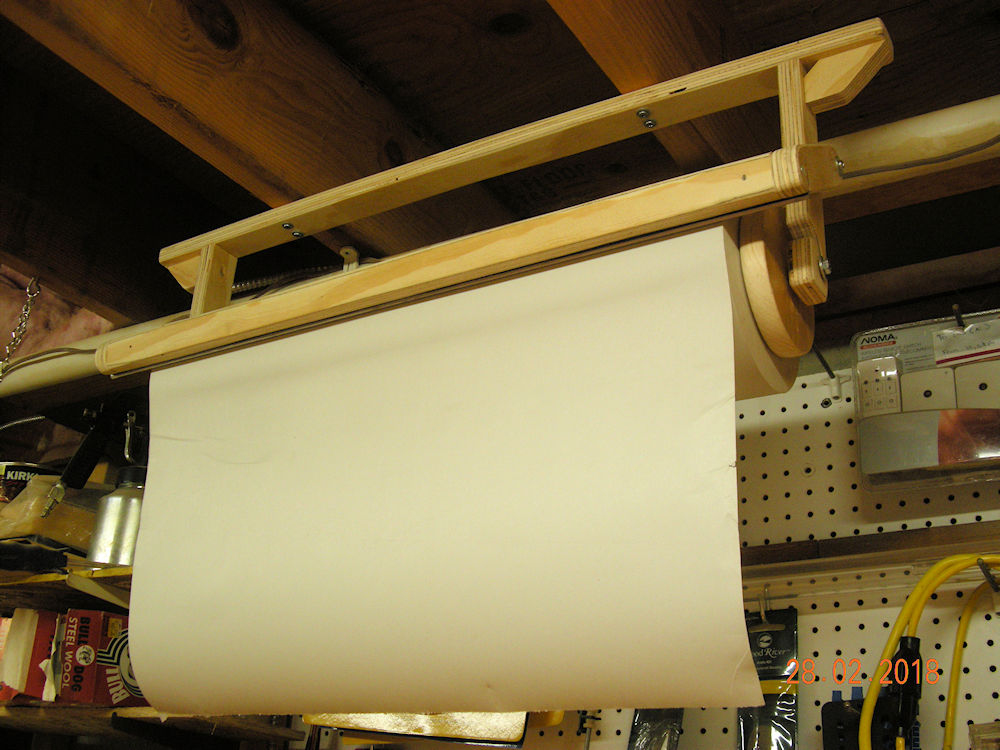
This is the third iteration of the design. Nothing like working with full sized samples, install at height, and heavy!
This one had to be rebuilt to get clearance for the tear off bar, and is done with 3/4 inch G2S plywood for strength. Found the scrap plywood when I moved the planers out of the way and had access to the back of the wood pile.
(28:02:2018)
| Click the Home button below to return to the main button menu. |

|