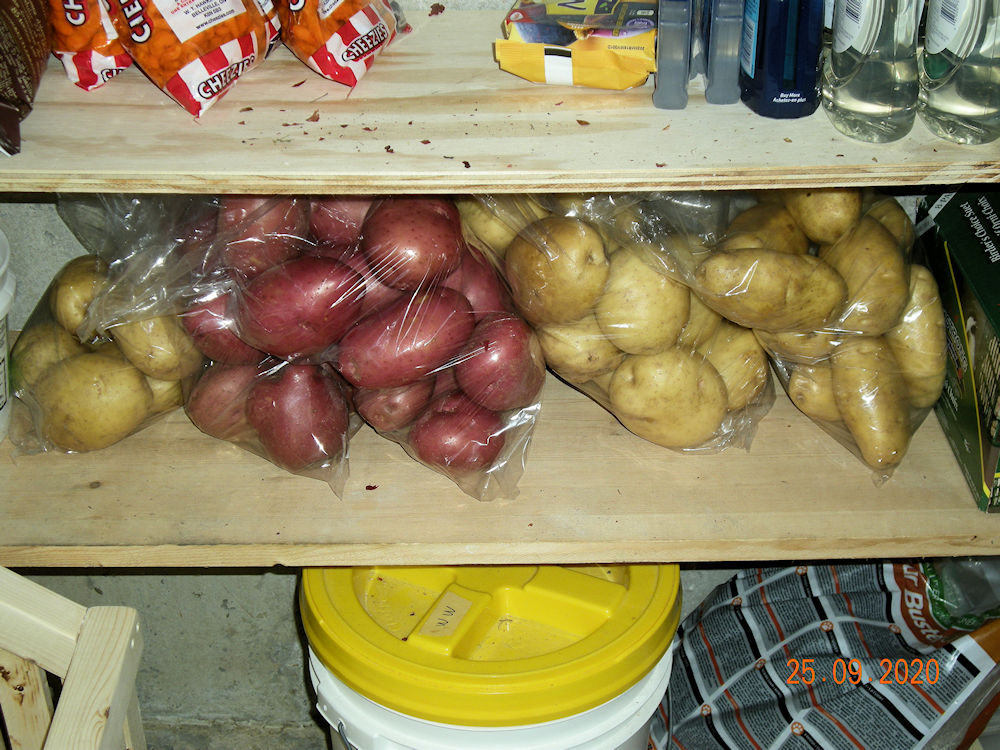
Cold Room Potato Bin
September 18th to 25th
Click image for enlargement.
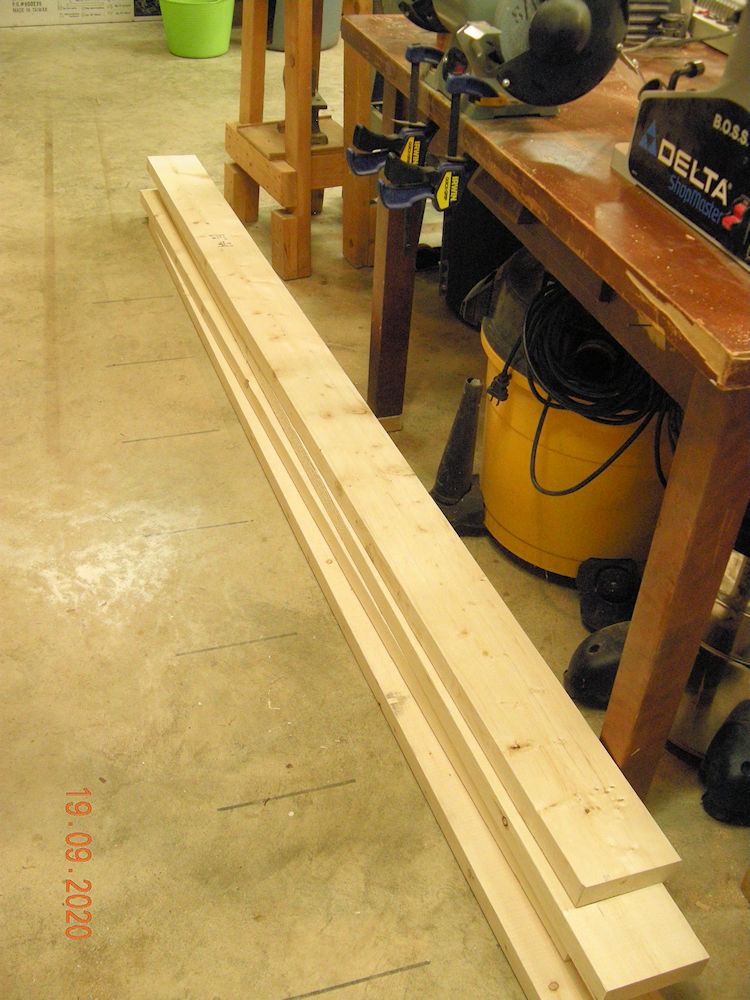
For years we have purchased potatoes in the fall and stored them in cardboard boxes where this pail sits. They have done really well considering, but maybe they could do with a little more air flow.
(19:09:2020)

(19:09:2020)
First step is to plane any cup there might be in the 2 x 6's with the thickness planer.
(19:09:2020)


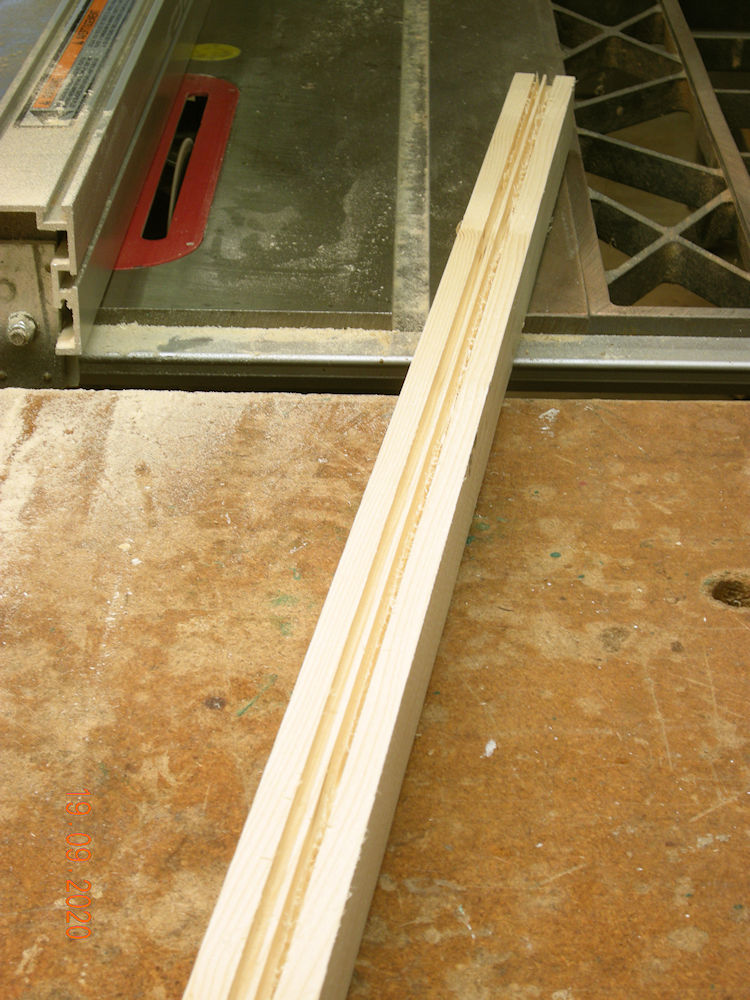
After cutting to length on the chop saw, they are cut to width on the table saw. In this case it is part of the frame
(19:09:2020)
After cutting to width, a groove is cut in the side to hold the slats that will make up the side walls.
(19:09:2020)

(19:09:2020)
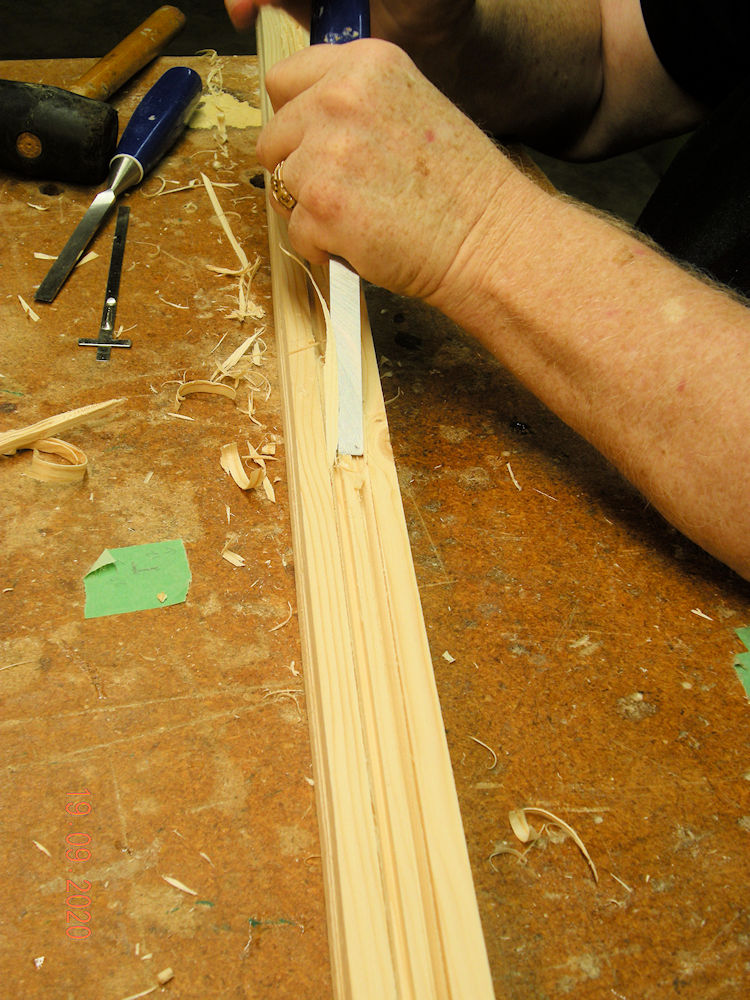
This is one of the four base frames. Dado cuts in two sides. One for bottom and one for side wall.
(19:09:2020)


(19:09:2020)
Here is where that dado blade would have saved a lot of time. Cleaning up these cuts was a slow process. And the base frame has a slightly wider dado than the side frames, so it took a couple of chisels.
(19:09:2020)

(19:09:2020)
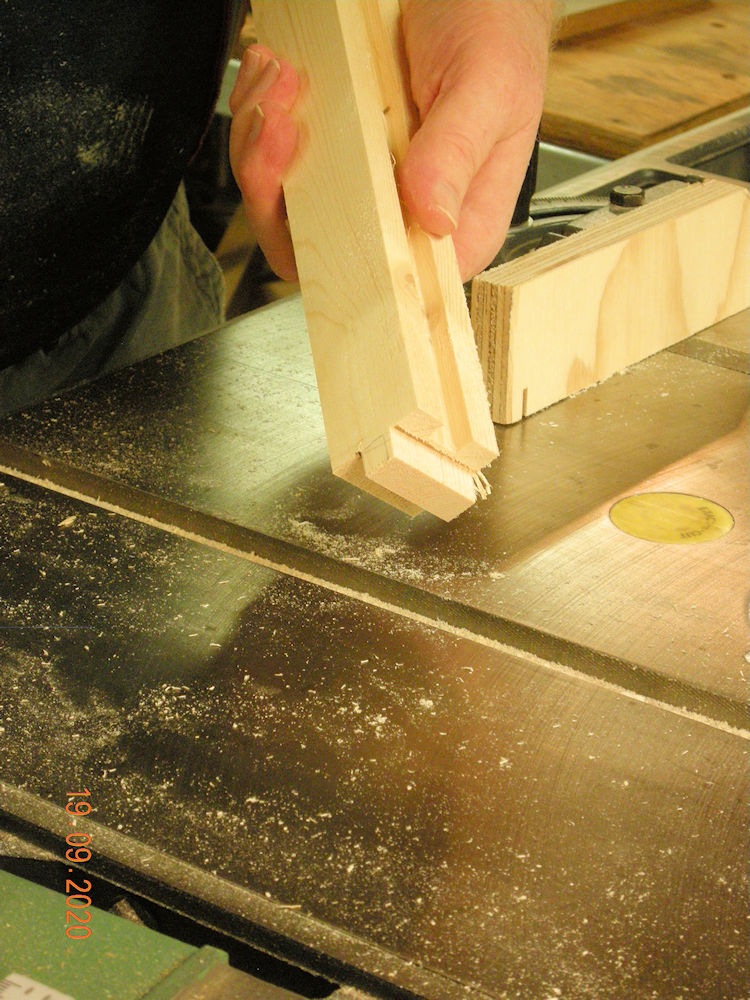
Center cut tenons are wonderful. Set it up once, make the first cut and turn the piece around to cut the other side. Used the mitre gauge to cut the sides to expose the tenon.
(19:09:2020)
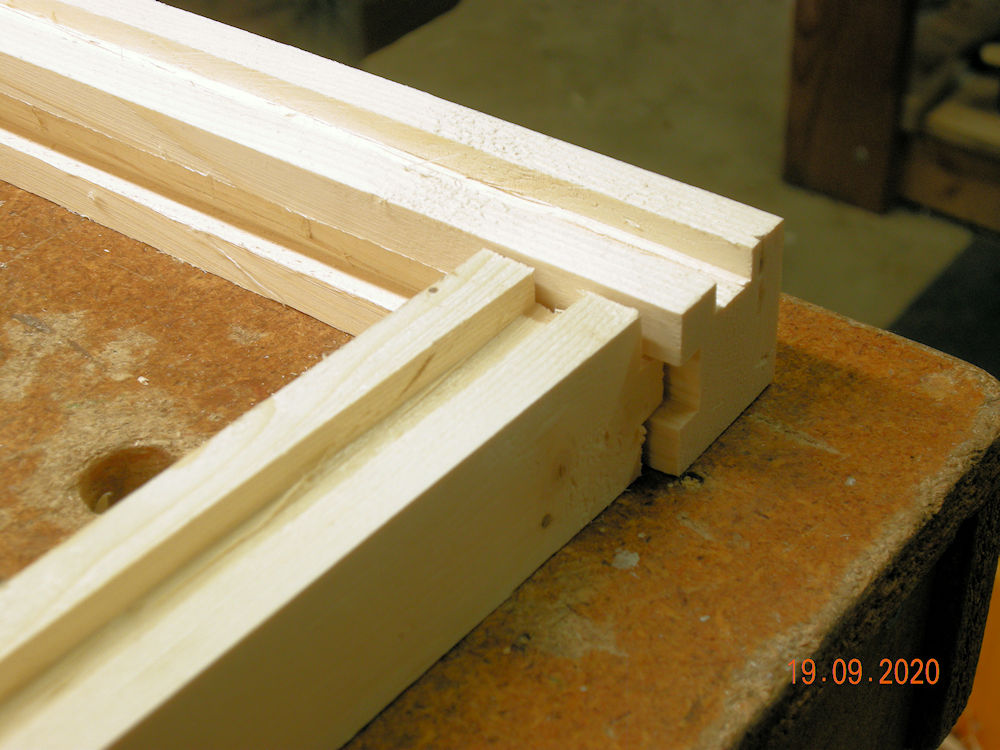
(19:09:2020)
(19:09:2020)
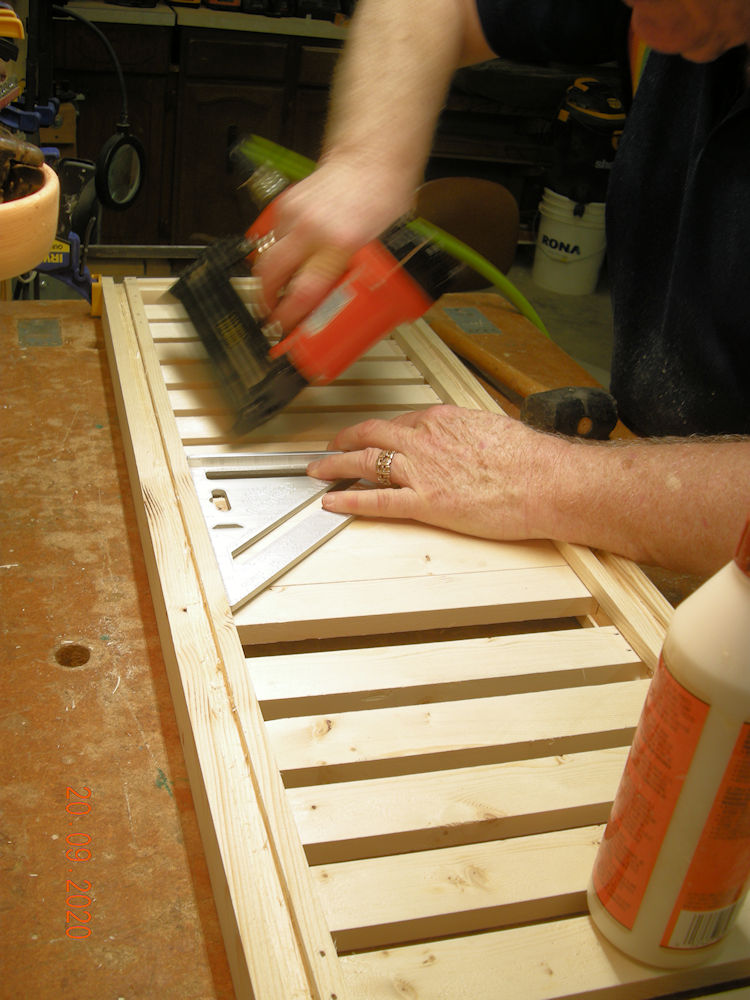
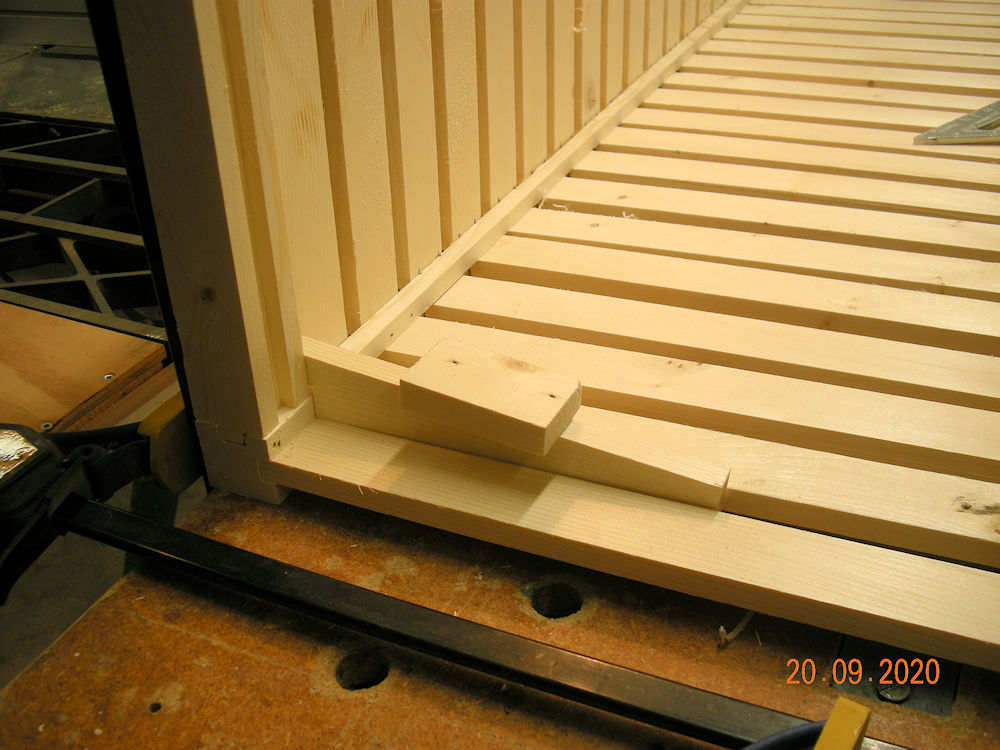
Glued and pin nailed in place.
(20:09:2020)
(20:09:2020)
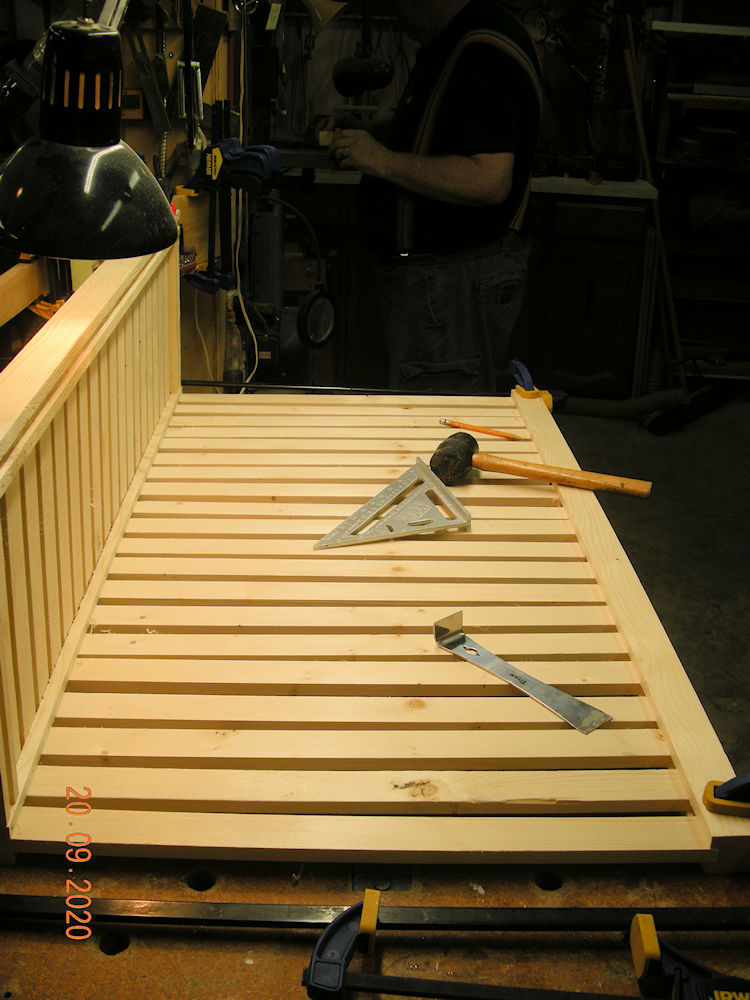
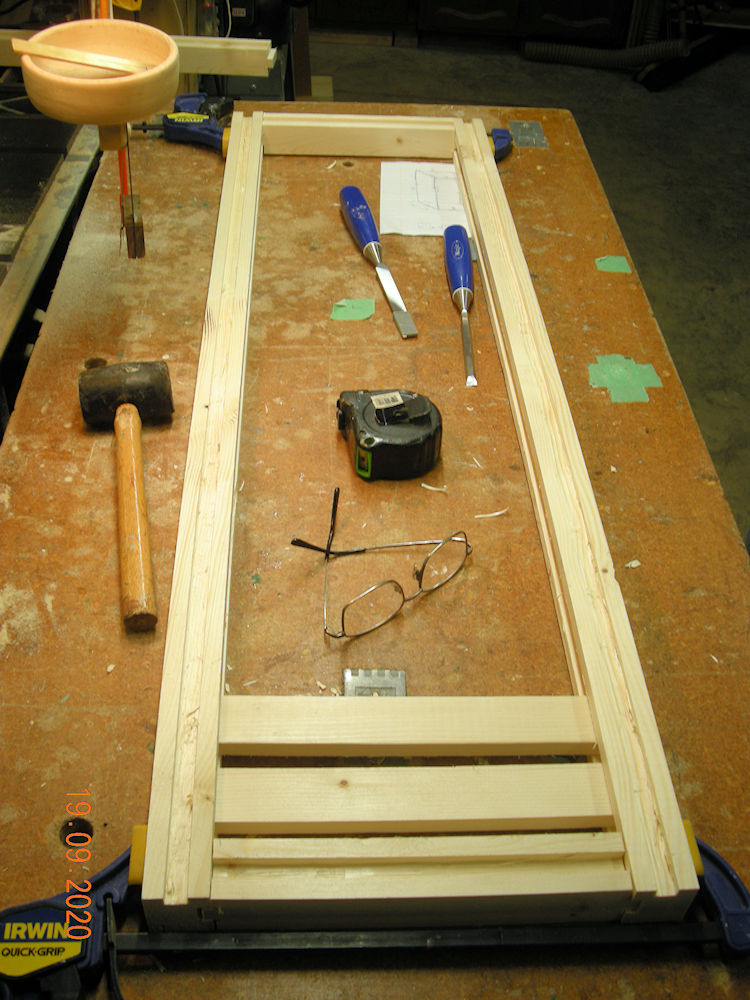
All the slats in place.
(20:09:2020)
(20:09:2020)
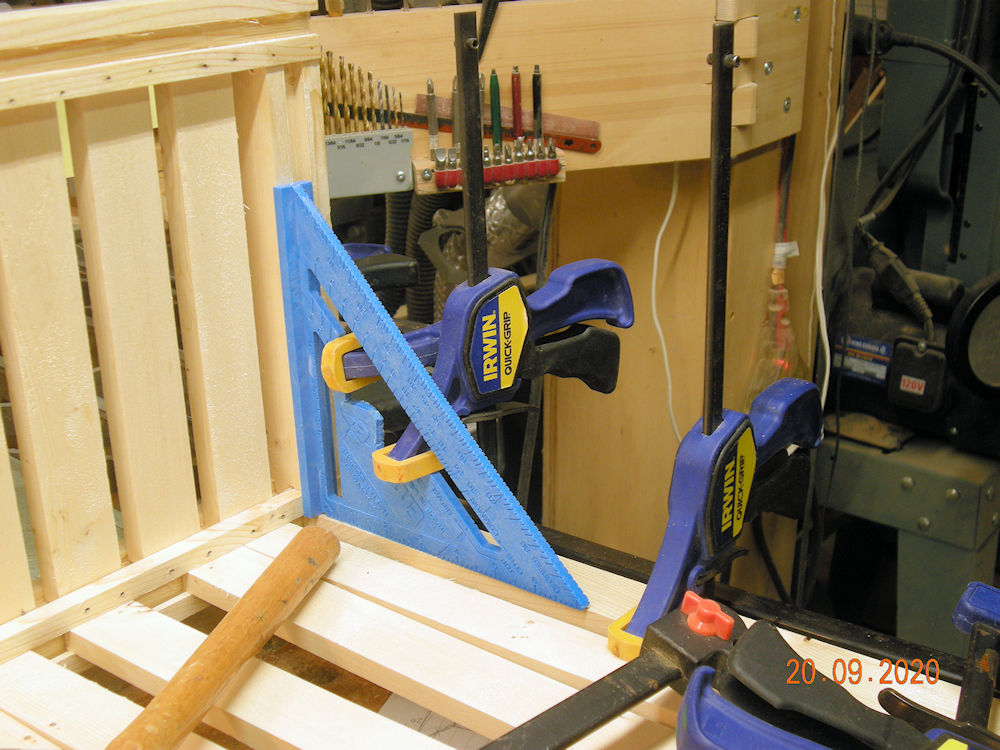
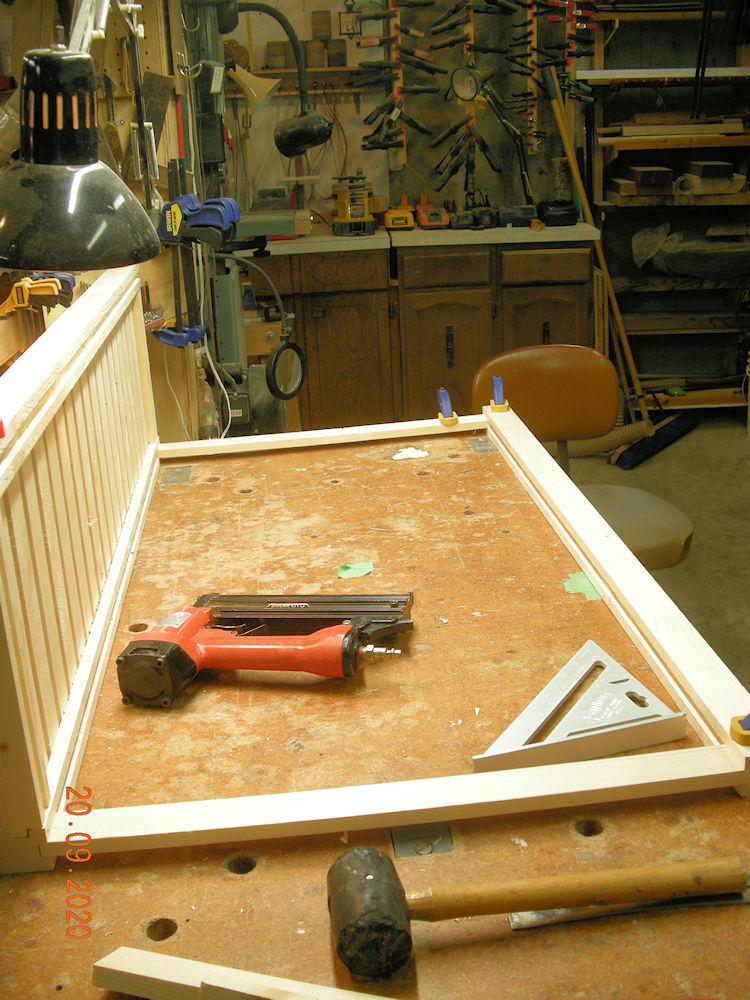
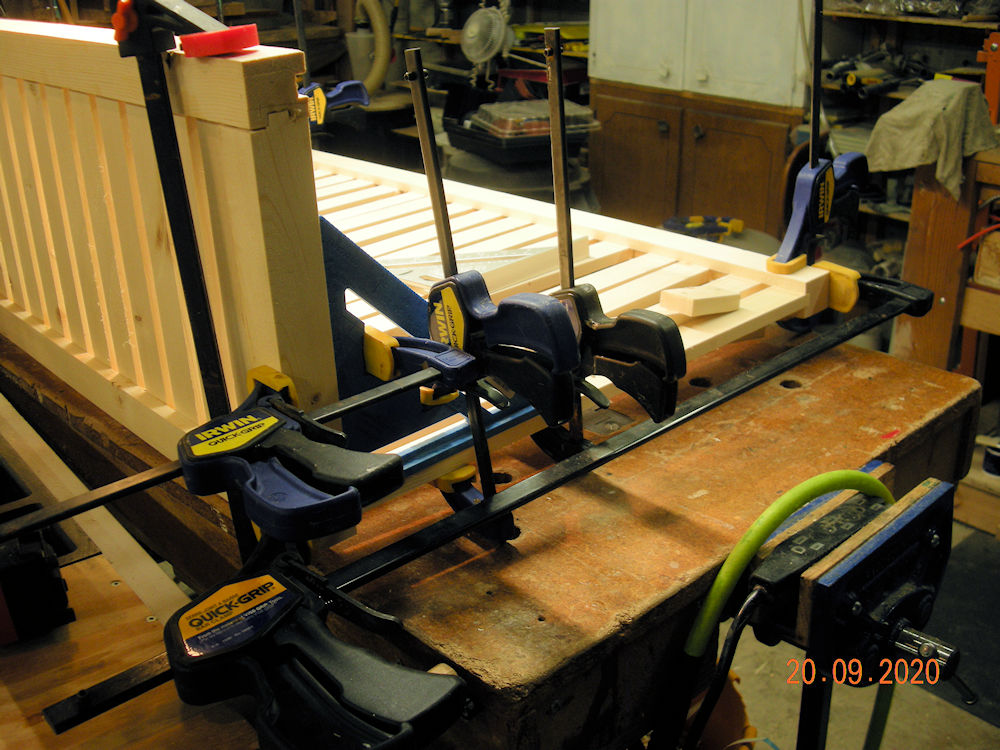
I'm not sure why, but I think it is important to get the structure square before the back gets glued/nailed in place.
(20:09:2020)
(20:09:2020)

(21:09:2020)
(22:09:2020)

(22:09:2020)
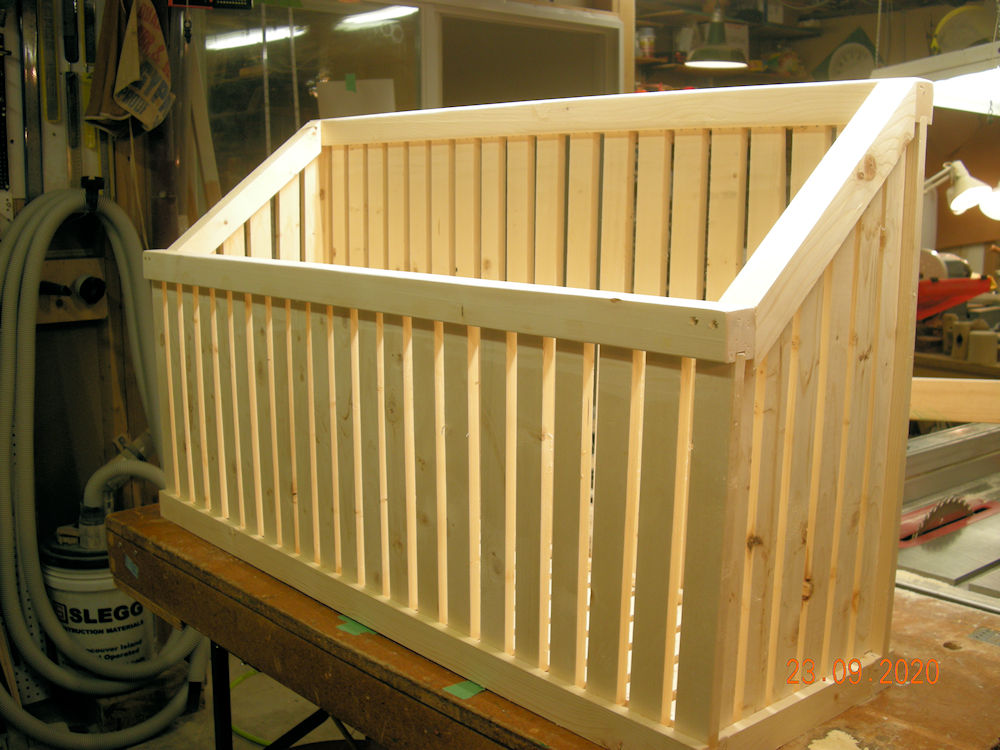
(23:09:2020)

(25:09:2020)
(25:09:2020)


(25:09:2020)
(25:09:2020)

(25:09:2020)
(03:10:2020)

| Click the Home button below to return to the main button menu. |

|