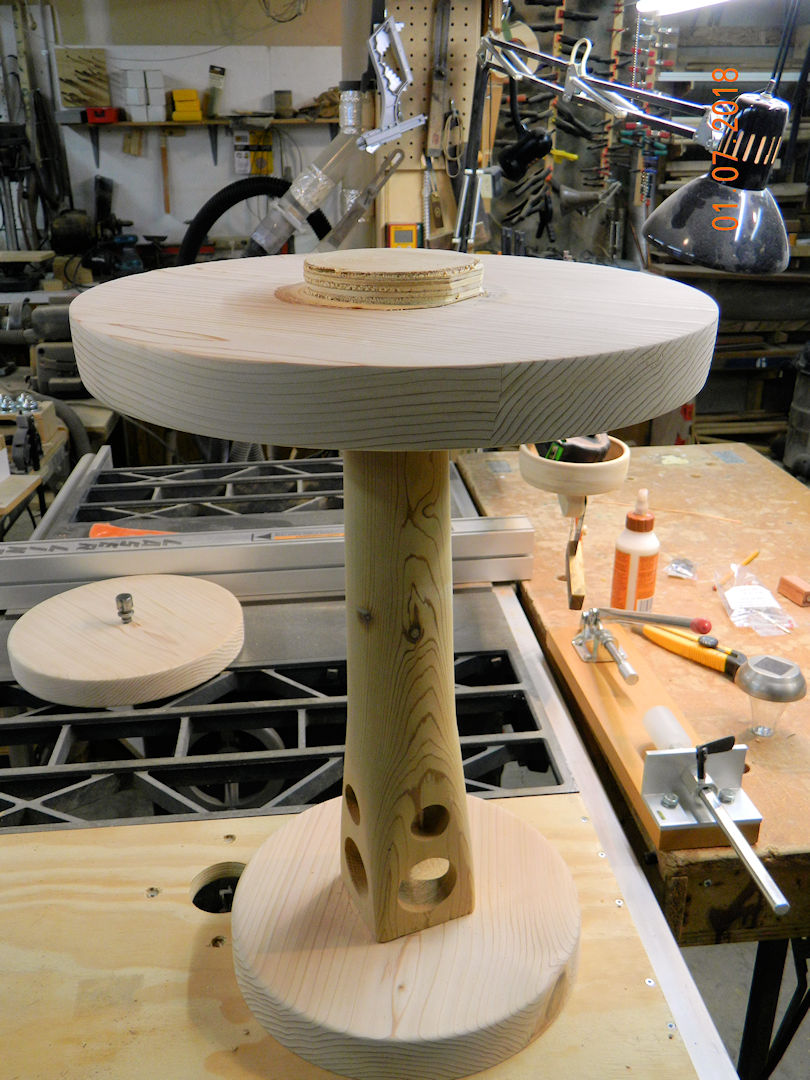
This table started in 2018, when I made the rough table. Turning the base and leg was interesting, as the leg was cross drilled before it was turned. The base is just an upside down version of a bird feeder seed tray, of which I have done several. The table top is another story because it is bigger diameter than the swing over the bed of my lathe. It had to be turned "outboard" (i.e. on the back side of the lathe head) and requires special equipment to act as tool rest etc.
See that block glued to the top? Well removing it will be a problem. One could remount on the lathe, and turn it off BUT I got this far along without killing myself or cutting off fingers. Outboard turning without the proper equipment is not a good idea.
(25:02:2018)
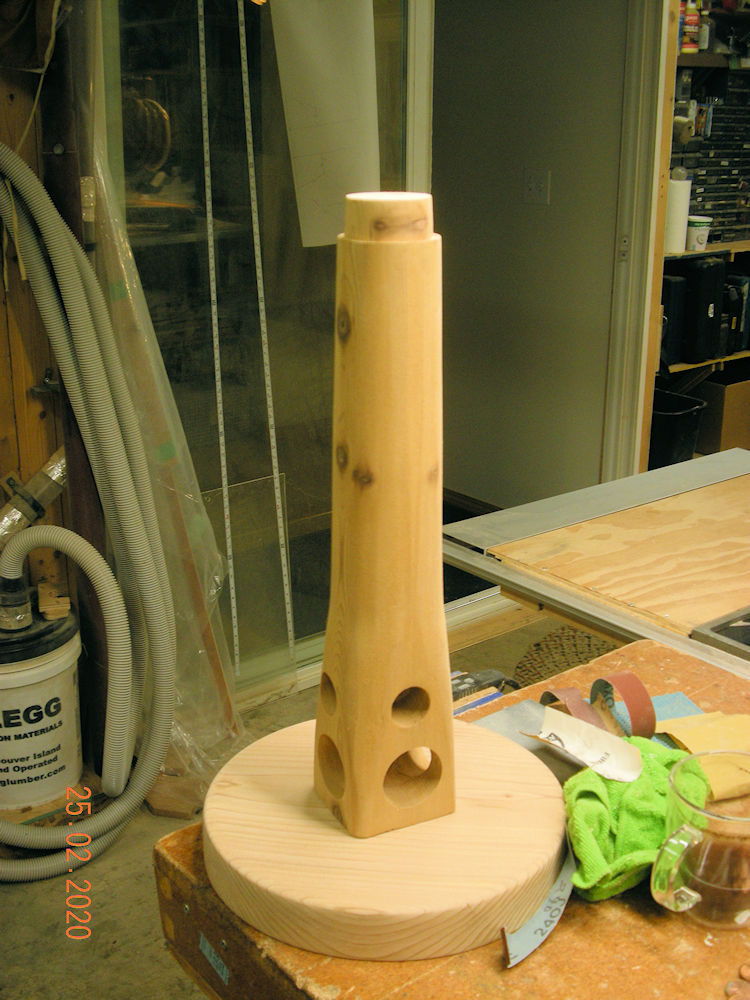
Magic - Block is gone, and fingers are intact. Mounted it on a vice, and used a chisel to break up the plywood. Then sanded the glue off.
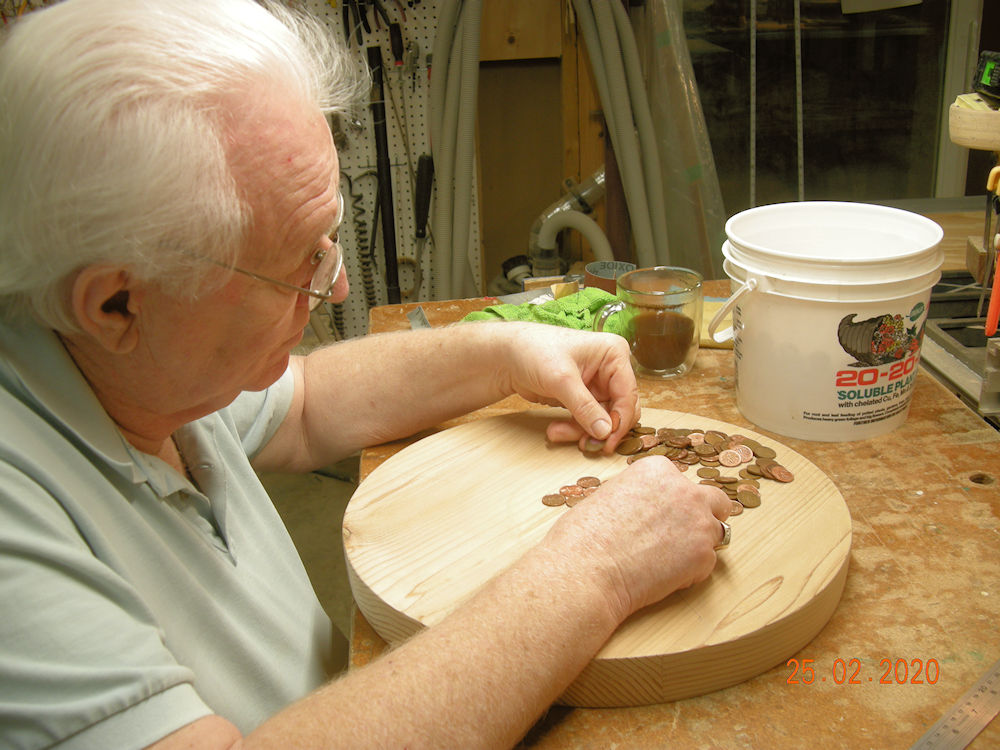
The start of figuring out how many pennies it will take to cover the top. And more importantly how close do the penny's come to totally covering to top?
(25:02:2020)
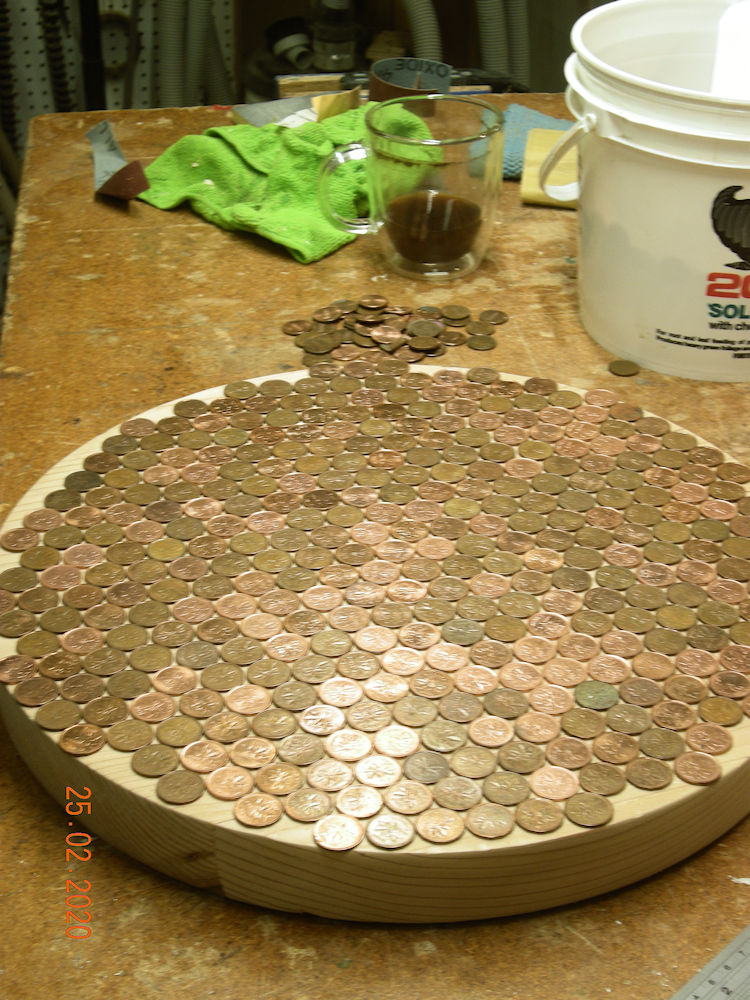
Well that answers that question.
Now do I "cut" pennies to fill the edges or rearrange creating gaps between so that they to cover the top?
Once the pennies are cleaned (vinegar and salt will do it in minutes) and glued down a epoxy resin will be used to seal the whole thing.
(25:02:2020)
A little sanding to remove the oxidation and saw dust and we're good to go.
(25:02:2020)
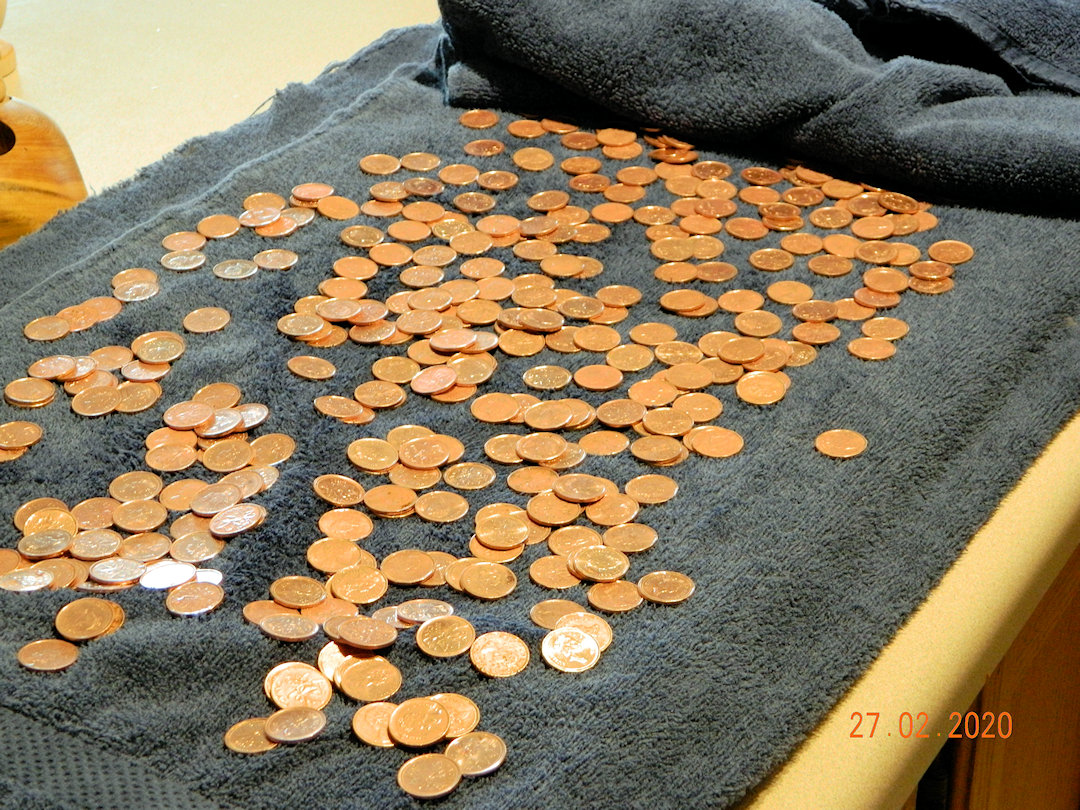
Pennies cleaned. Abount 5 minutes in a salt/vinagar mix with a wash and they are good to go.
(27:02:2020)
Sticking the pennies down so they wont float up when the epoxy resin is put on, and so one can work with it to set up the forms needed for the resin pour. That is "Clear Gorilla Glue" being used because it doesn't "foam" and is easy to apply.
(27:02:2020)
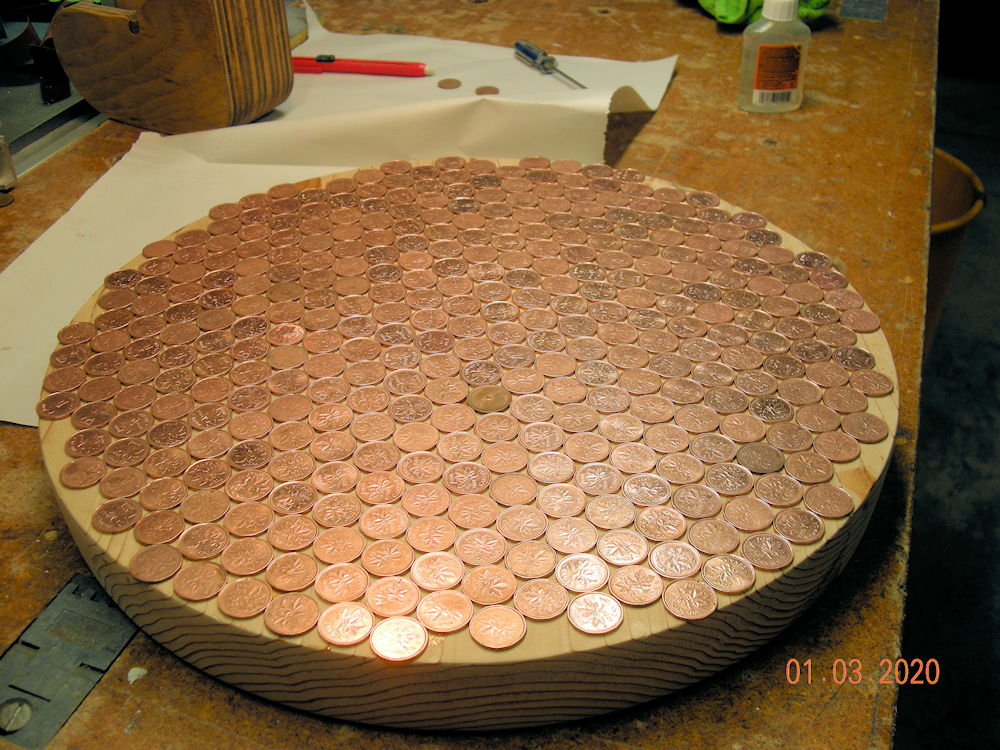
First surface is done, will start on the edges next.
(01:03:2020)
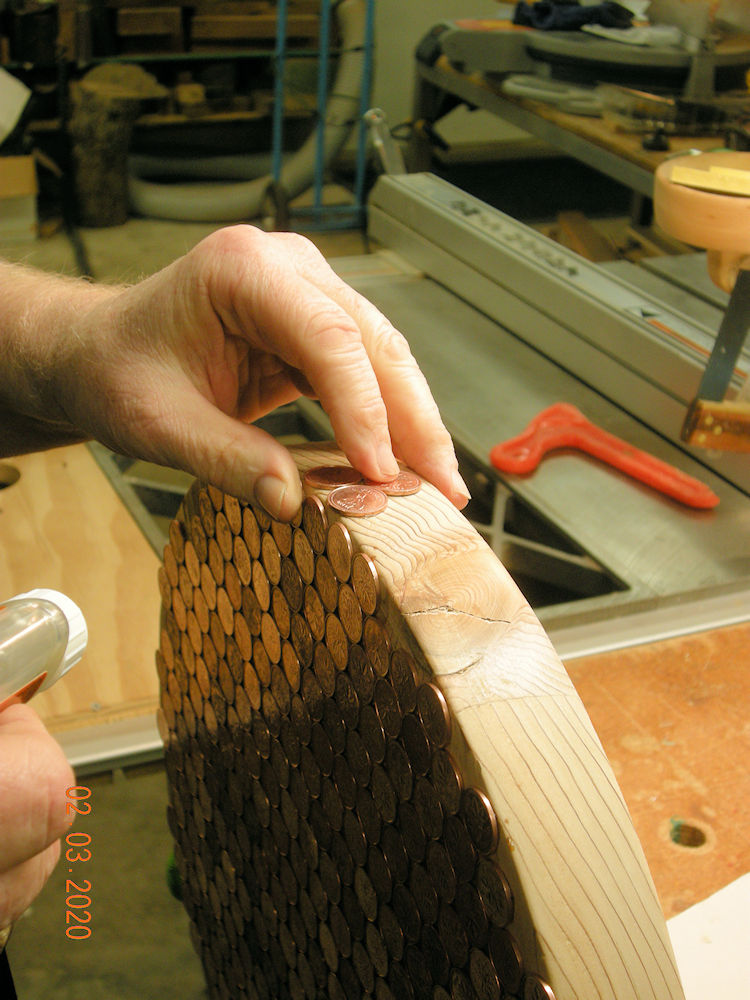
Start on the edges. This is going to take a day or two to allow the glue to dry before moving on.
(02:03:2020)
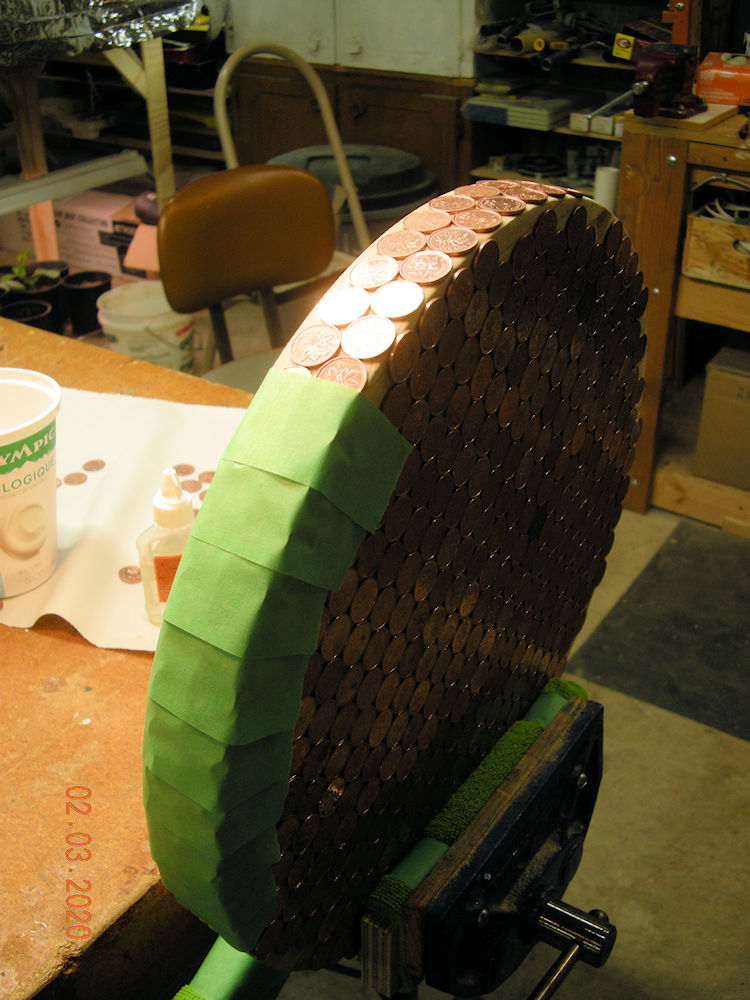
A little painters' tape will let me go further around the edge.
(02:03:2020)
All the pennies are down, onward to the epoxy resin next. (Never done this before!)
(02:03:2020)
Time to move on to the epoxy resin part of the project. First to create a form to act as a mold when the resin gets poured. Cutting a circle to act as the base for the form needed to pour the epoxy resin.
(08:03:2020)
The clamp is there to reinforce where I had to patch together two strips. My "left over" plastic wasn't long enough to go all the way around. It wants to kink where the two are glued together under the clamp.
(08:03:2020)
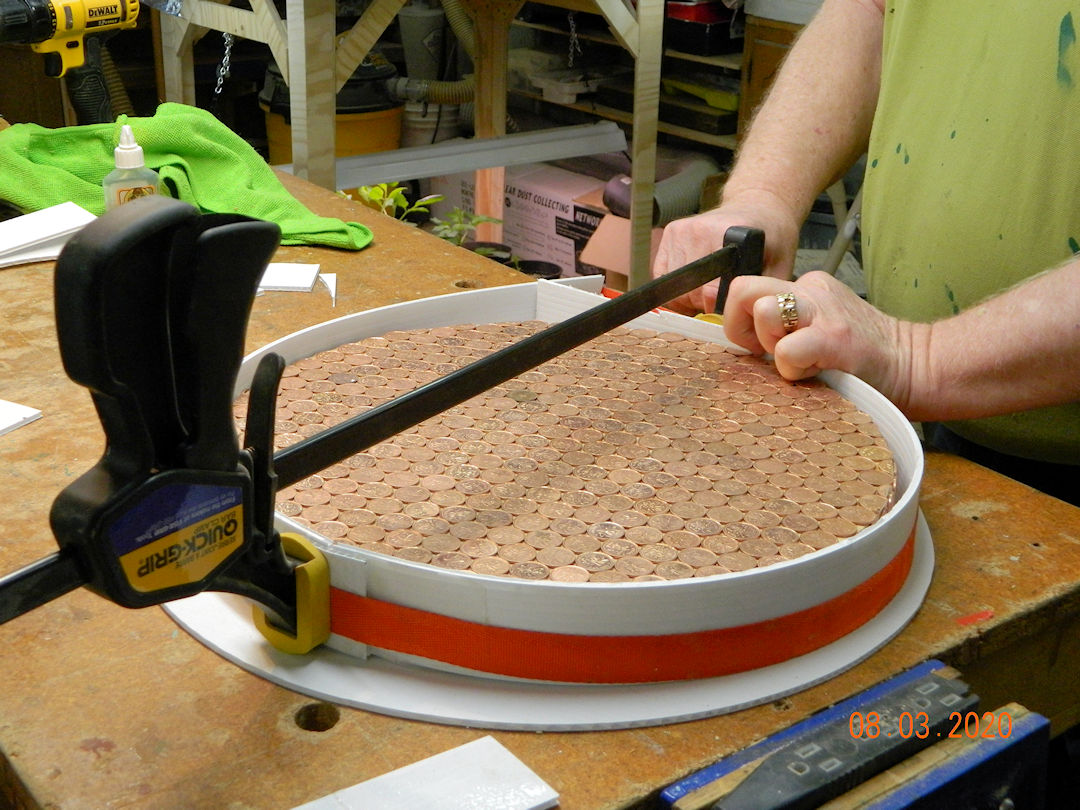
The orange strap pulls the form tight to the 1/4 inch spacers. The first layer of glue (instant glue) is drying. Next will be a layer of silicone tub sealer (on the outside) to reinforce the seam. The little yellow clamp joins the overlap until we are glued down.
(08:03:2020)
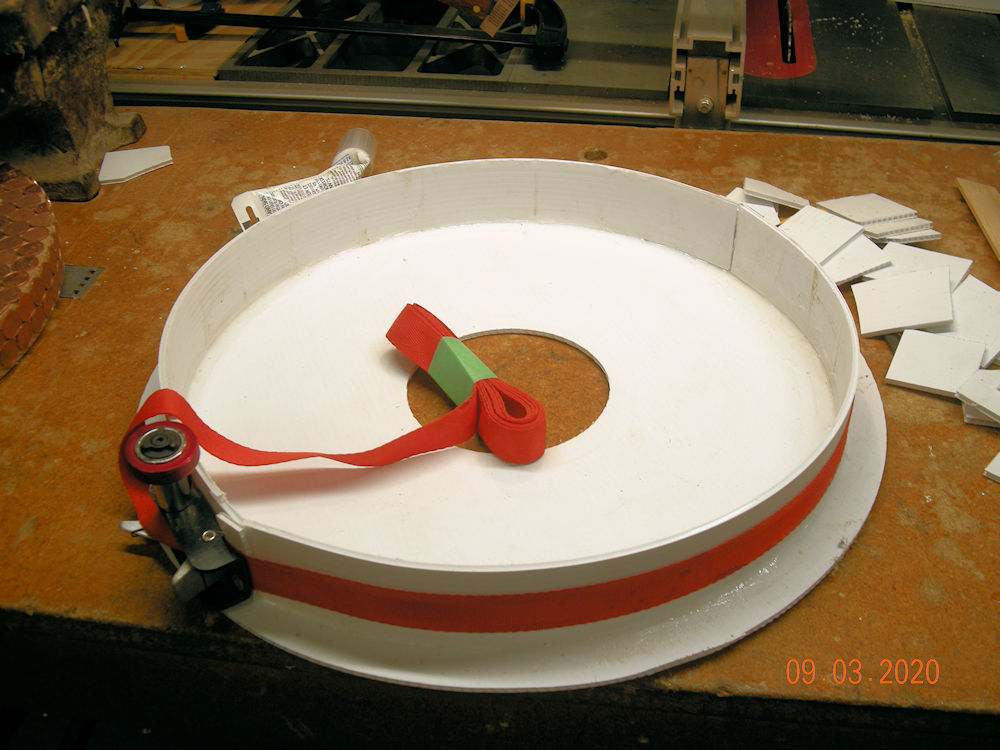
Silicone seal the inside seams. The hole in the center is because the base mount of the table top is slightly deeper that the outer rim.
(09:03:2020)
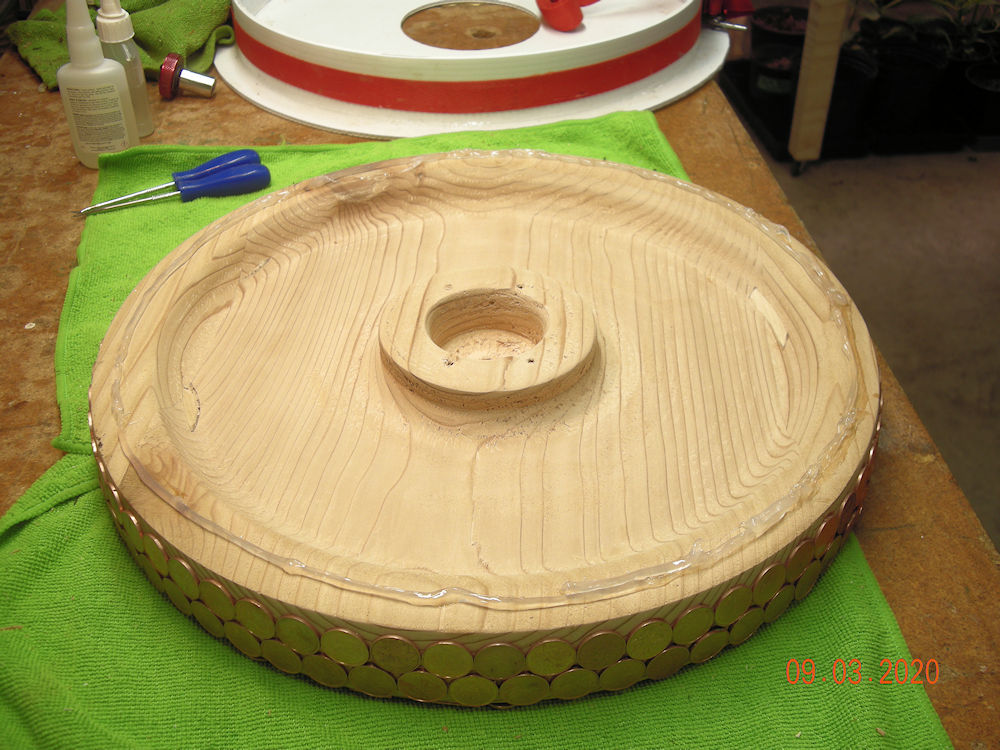
A big bead of silicone putty applied to the bottom of the rim.
(09:03:2020)
Then inverted, and weighed down for the night to dry. And no I don't know if it will totally seal around the bottom, but it didn't have much wiggle room to smear the silicone when it was put down so I HOPE we're good! Maybe I should plan on sealing the hole in the bottom of the form, just to be safe.
(09:03:2020)
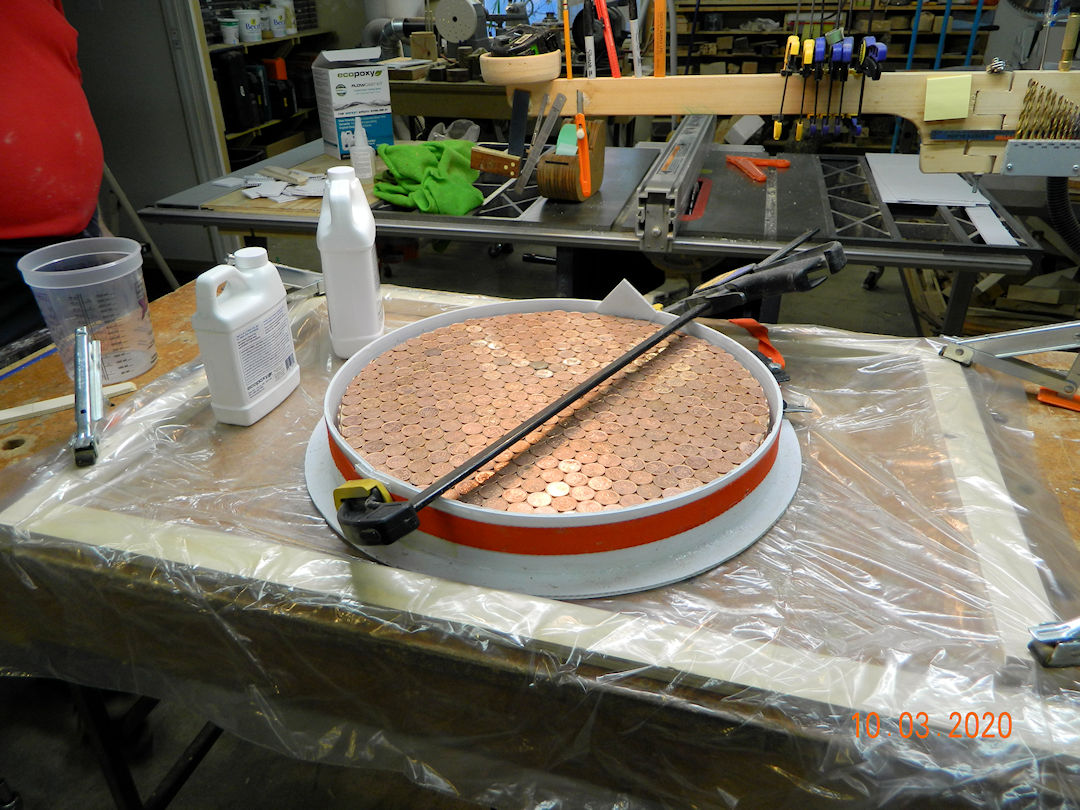
All ready to pour the epoxy resin! I did put a patch over the hole in the bottom of the form, and being of little faith I set up the plastic cover for my work bench. The clamp is for extra support at the join points in the form.
(10:03:2020)
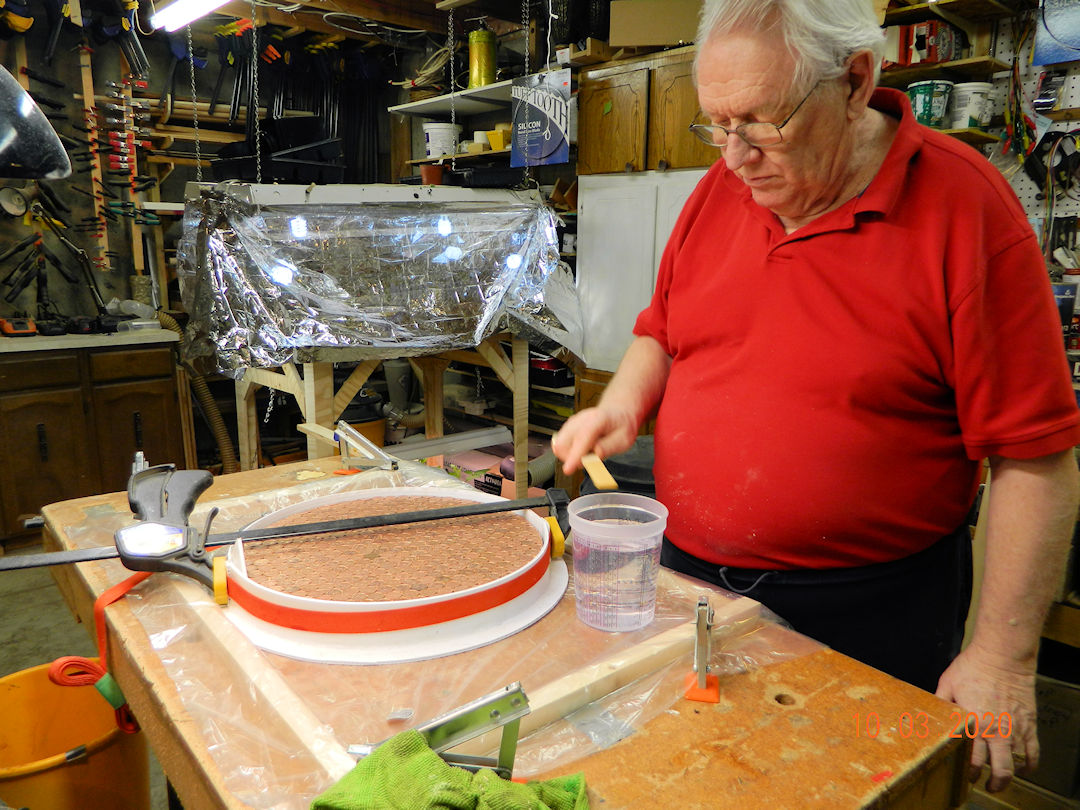
Now we mix 2 part resin to 1 part hardener, and mix and mix and mix! For 5 minutes.
(10:03:2020)
Ok here we go! The leak test stage! Oh did I say we mix this stuff (adding air bubbles with every beat.
(10:03:2020)
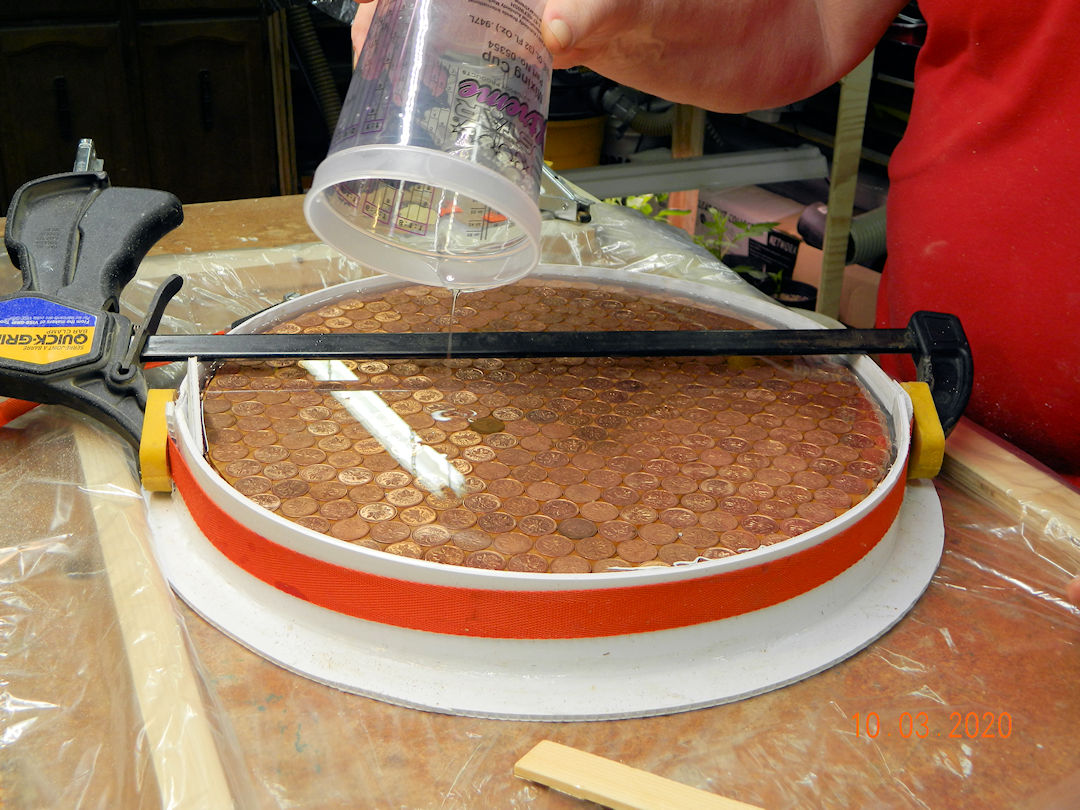
Pour the edges first! The question is 'How accurate was the volume needed calculation?'
(10:03:2020)
Well we knew that it would be a two part pour and this is number two.
In the meagre instructions for the epoxy resin one thing was stressed. Do not scrape the sides of the mix container after the pour. It will have unmixed ingredients that will create "wet" places in the finish. Oh and did I say mix for five minutes again.
(10:03:2020)
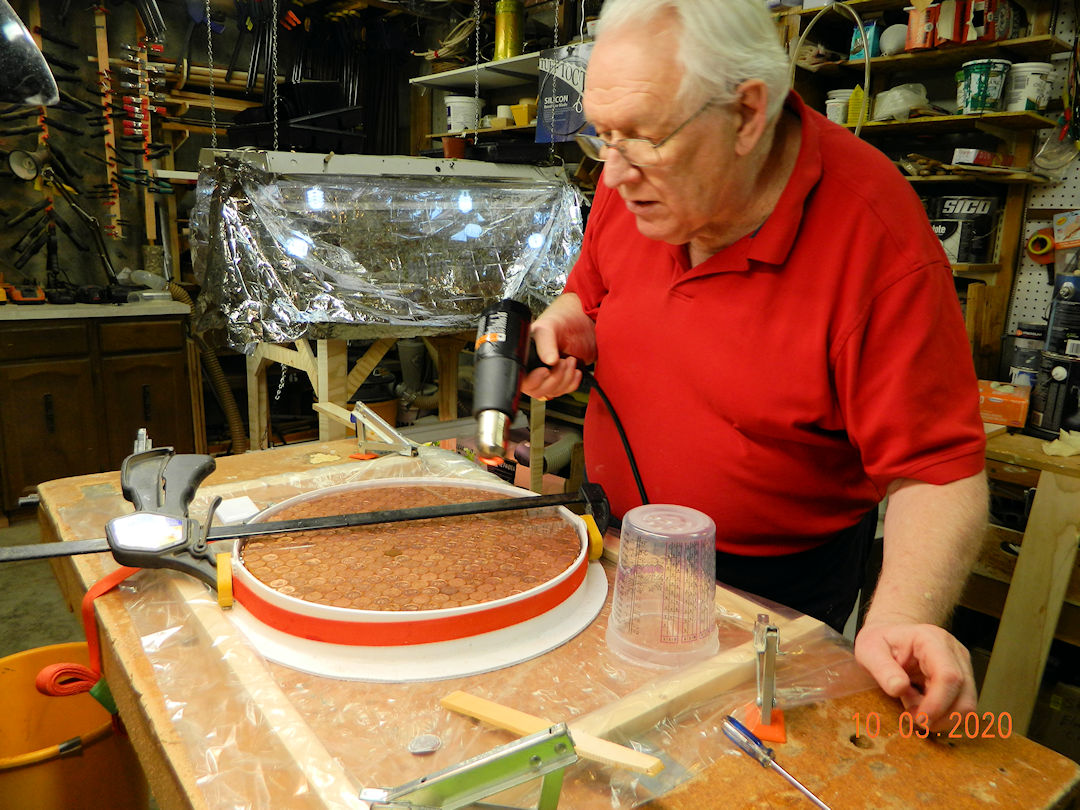
It is hard to see, but in my hand is a heat gun, used to pop any air bubbles that form as they rise to the surface.
In hindsight I should have used a brush to paint a layer in the coins before the pour started to reduce the number of bubbles that formed.
(10:03:2020)
Decanting! Was not as easy as expected! The bottom form just pop'd off no problems, but the sides had two things that made it difficult. First was the texture of the plastic and the resin leaked it to ONE (thank god) of the channels of the corrugation.
(16:03:2020)
There she be! Now on to the next step of sanding the edge. The top edge is very sharp due to the meniscus of the resin and the form. The flat side of the edge has marks from the ridges in the plastic forms that will have to be removed.
(16:03:2020)
Sanding started. Taped up to protect the top surface that shouldn't need sanded. Dust (so far) has been minimal. I'll work my way from 80 grit paper up to 2500 grit. Two passes around the outer edge at each level. (60, 100, 120, 220, 230, 400, 600, 800, 1000, 1200, 1500, 2000, 2400 - then wet 2400)
(17:03:2020)
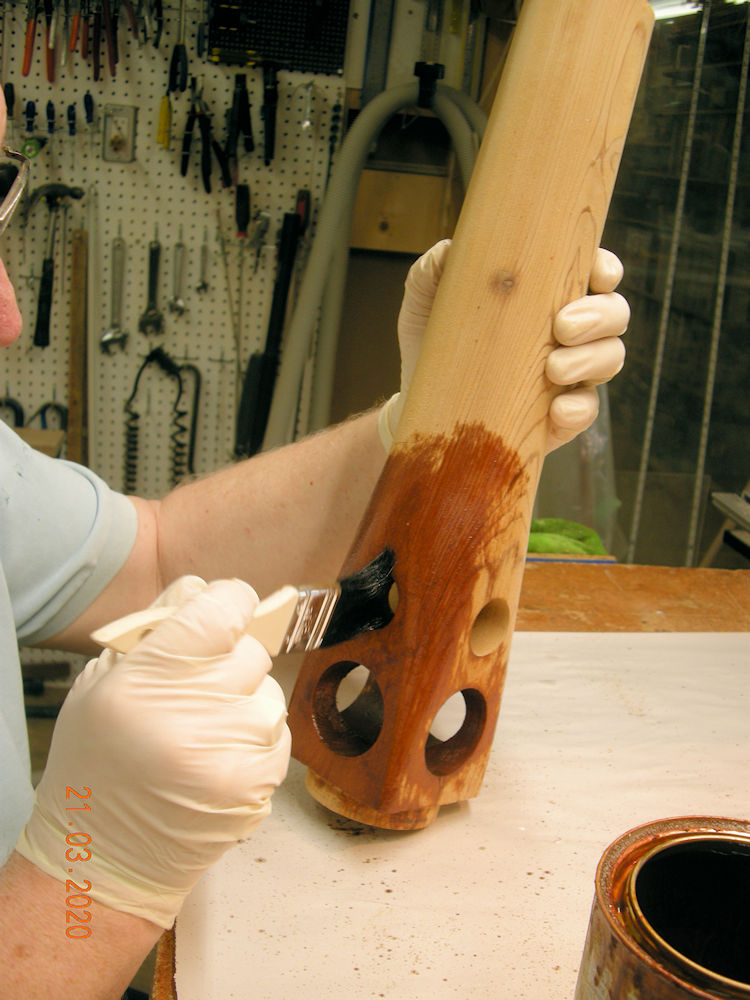
After three days of sanding the edge it's time to start of putting the stain on the base! This is a two coat process, that matches every other cedar thing we have done. Maybe the cross drilled holes in the base were not such a good idea. (Now sanding with 4000, 8000, ... but this is by hand, no sander to hold the small sanding pads.)
(21:03:2020)
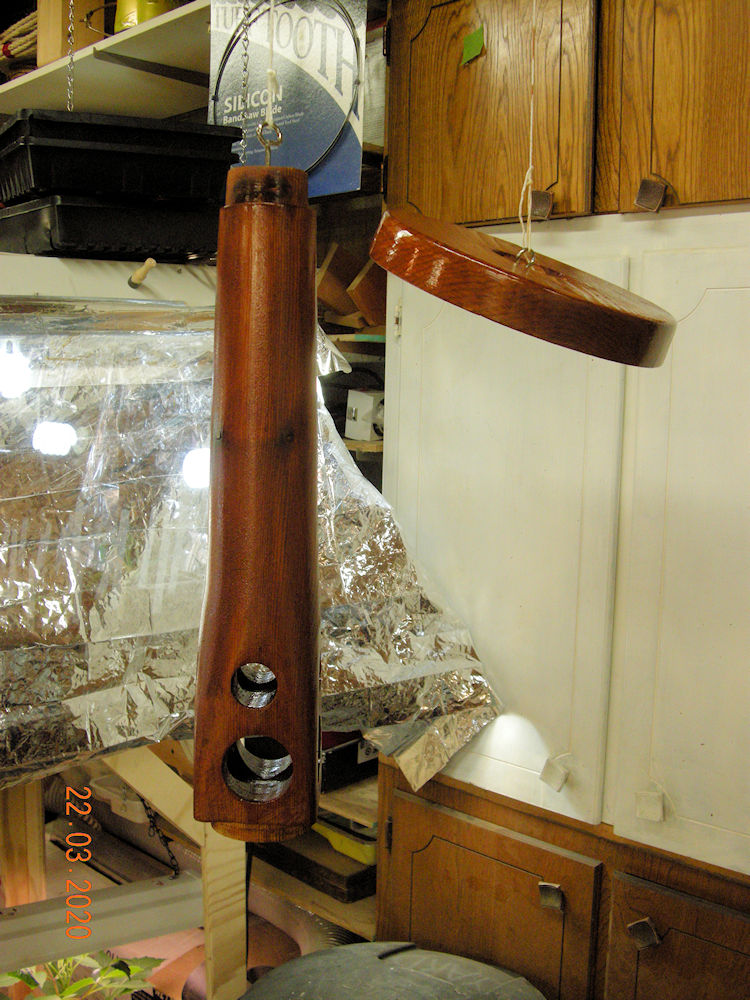
You might say "hung out to dry". Good idea - BUT - the shop is all over fine white dust from sanding the edges of the top, and this second coat takes several (how many is yet to be determined) days to dry.
(22:03:2020)
It is now assembled and re sanded to remove the white stuff and re stained.
(22:03:2020)
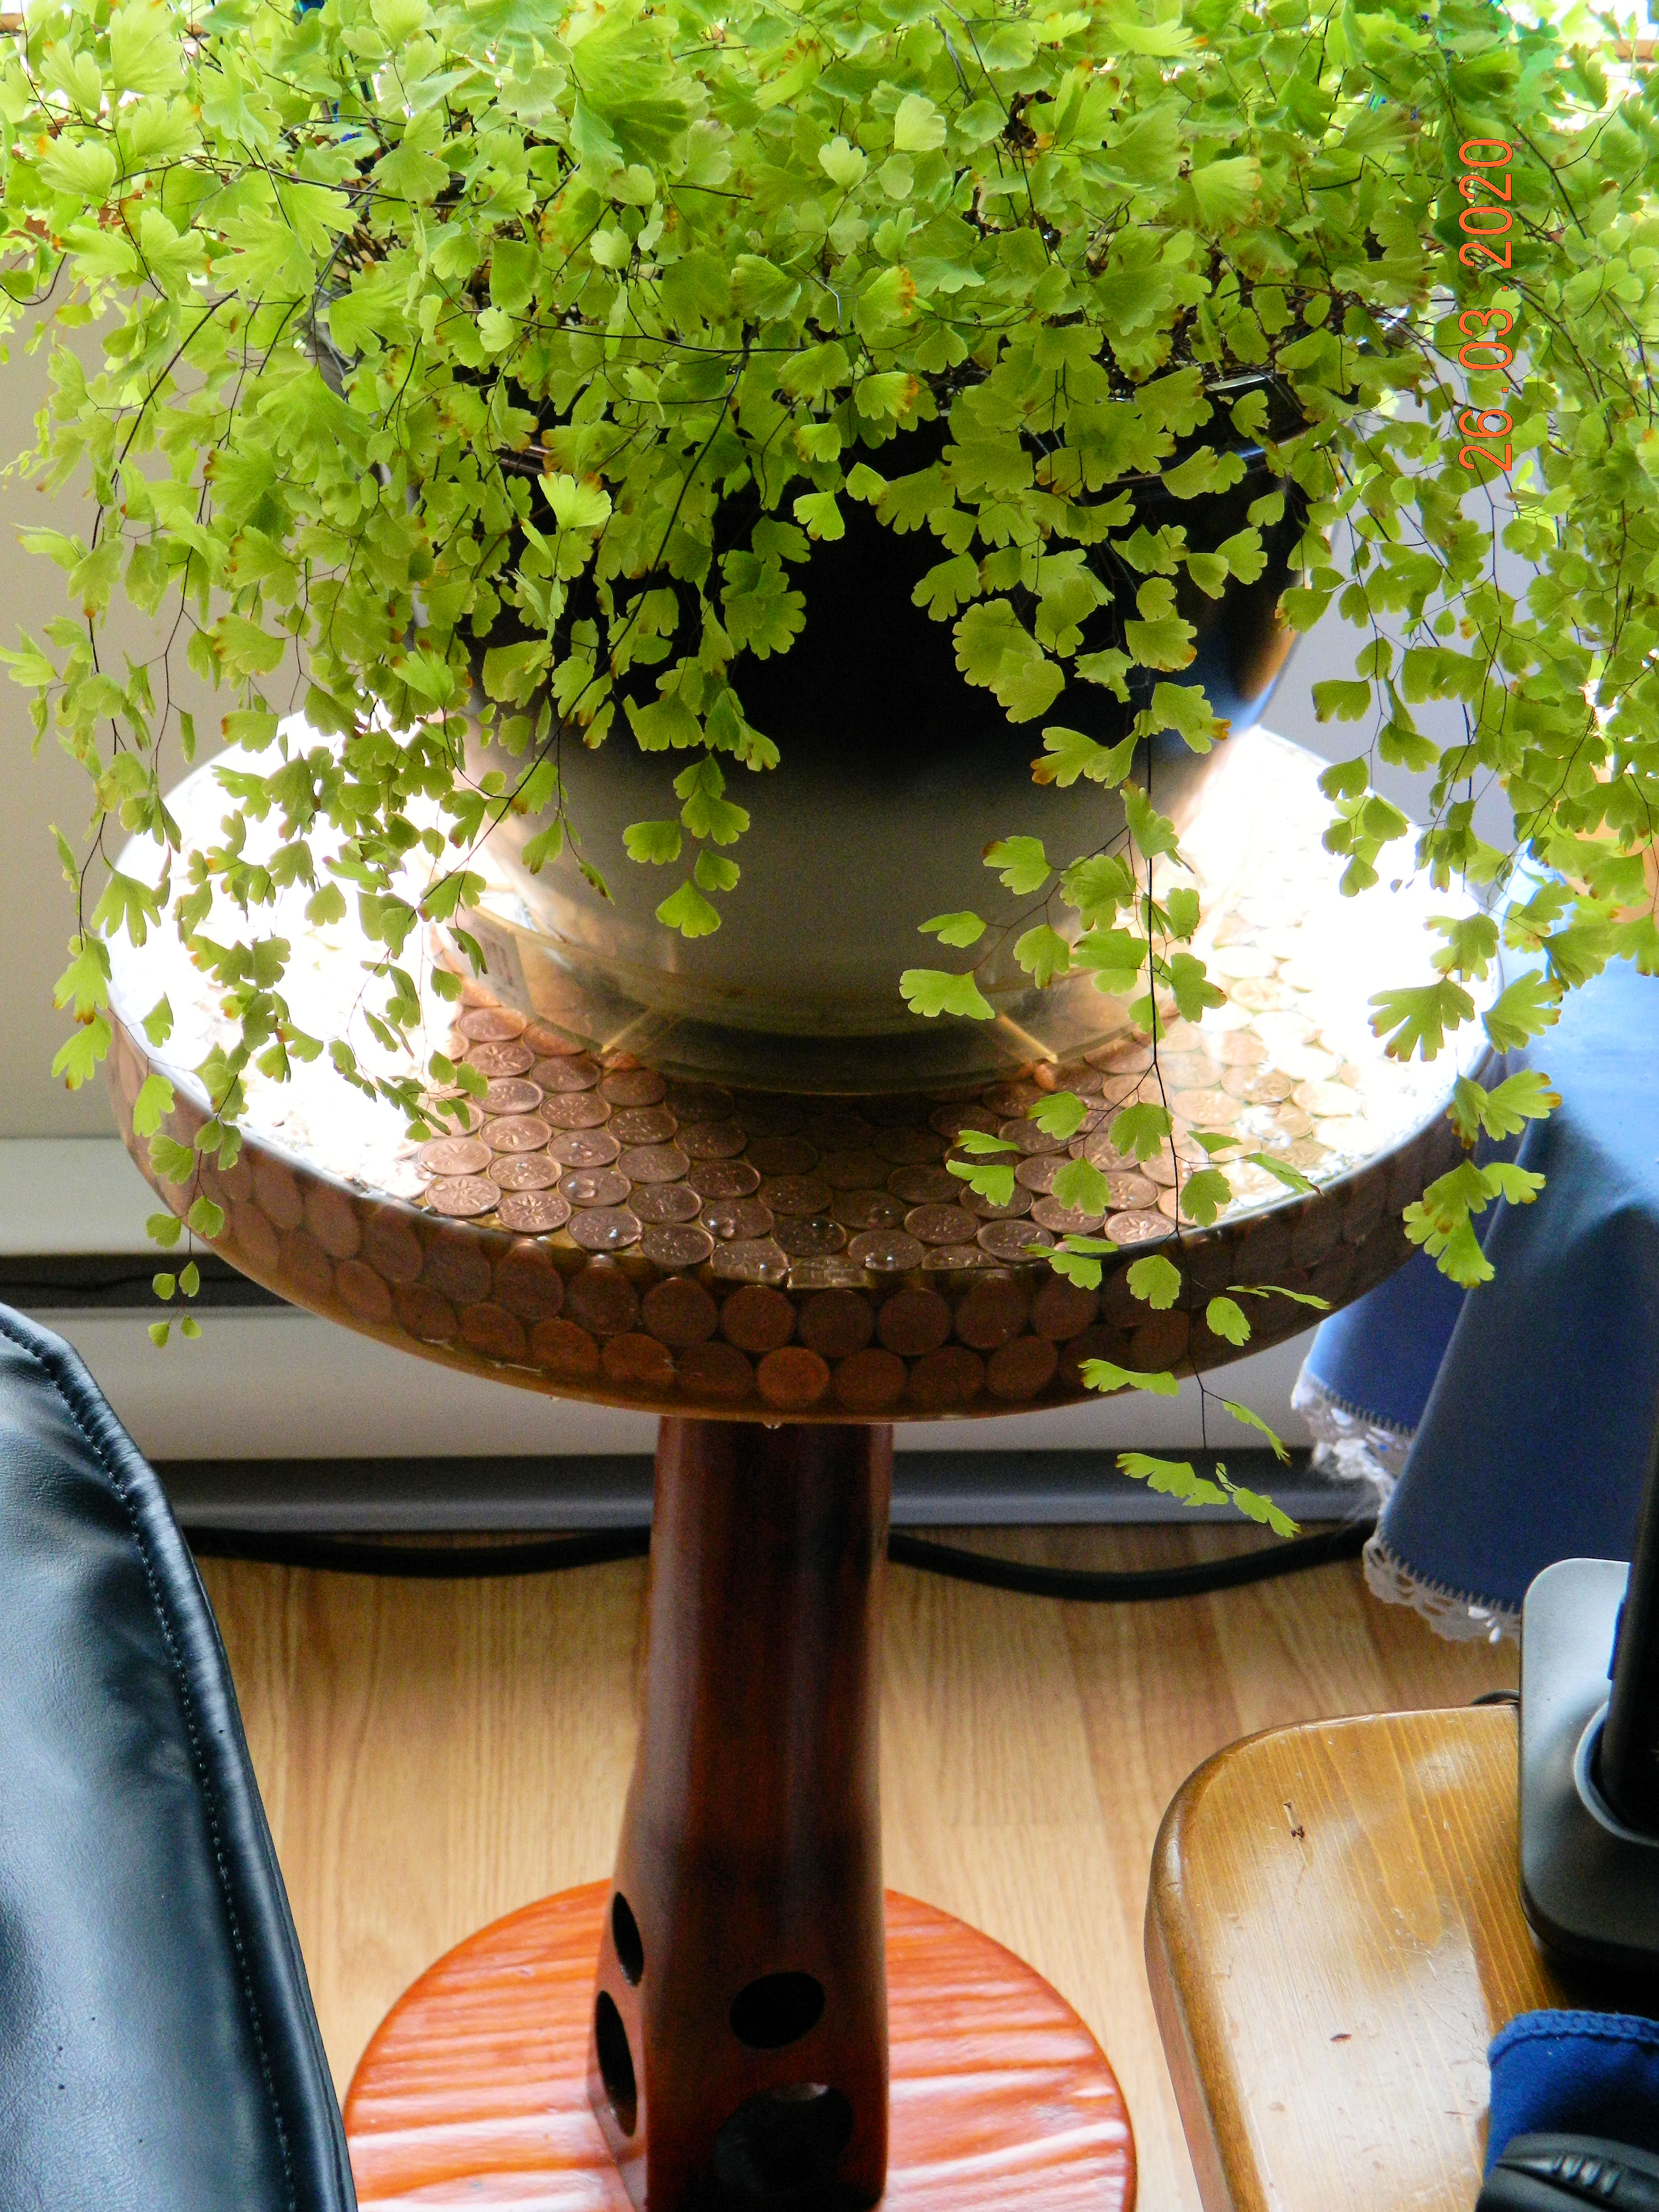
Looks like my buffing wheels from Amazon the guarantied two day delivery will not arrive till mid April. SO temporarily mount the top for now.
(25:03:2020)
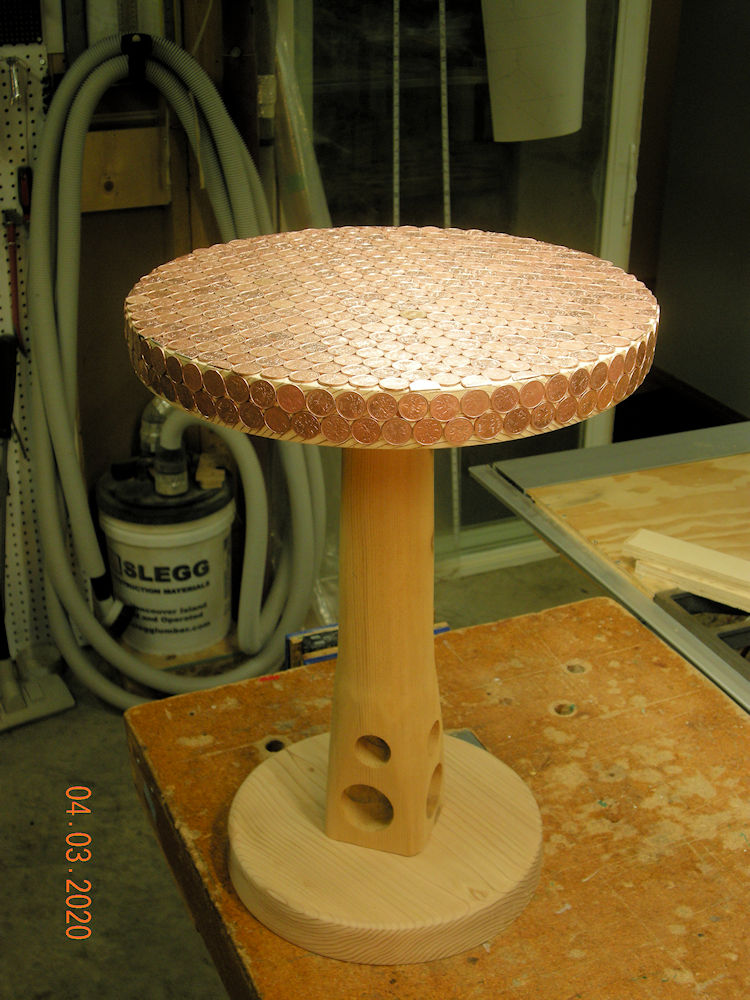
This is what it looks like for now. Edge need some buffing but all in all it's "nae sae bad!"
(25:03:2020)
Made to be a "back deck beer table" it has been reallocated as a plant stand (FOR NOW)!
(25:03:2020)
The "buffing" system arrived from Amazon on April 9, 2020 which is two days guarantied shipping from March 25, 2020!
(09:04:2020)
Click the Home button below to return to the main button menu.